Tuesday, July 31, 2012

Rappelling Safety

There is no doubt that rappelling is one of the most dangerous things that we regularly do in this sport. There are more climber injuries and fatalities from mistakes rappelling than from any other place in all of climbing. However, there are some things that every climber can do to make rappelling safer.

First, if it is possible to safely walk off from the top of a climb, simply walk off. Limiting the amount of time that you spend rappelling is a surefire way to limit the amount of exposure that you have to potential mistakes.

Second, climbers should always try to tie off the ends of their ropes in order to close the system. This is a simple thing to do that is often overlooked. Some climbers are afraid that their ropes will get stuck after they throw them...which is a legitimate fear. Closing the system should be a default tactic. But if there are extenuating circumstances, then perhaps the system should be intentionally left open.

People seldom think about tying knots in the end of the rope in single pitch terrain, but ironically, that's where most people accidentally rappel off of a single end of the rope. All that it takes is a minor rope offset to ruin your day. Knots in the rope will keep such a thing from being anything more than another minor element to fix.

Rappelling with a Prussik above the Device

And third, climbers should use some kind of rappel backup.
A Prussik Hitch on a Rope

There are two friction hitch backup options that are commonly used. Some people like to put a prussik hitch above their rappel device, whereas others prefer to put an autoblock hitch below the device. There are advantages and disadvantages to rappelling both ways. The biggest advantage to either of these options is that you are less likely to die if you make a mistake. The biggest disadvantage is that it takes extra time to put these things together...
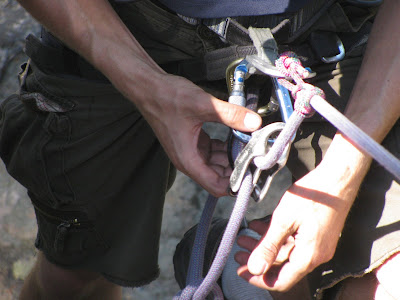
Note the autoblock coming off the climber's legloop.
Most people will put their hand on the autoblock hitch while rappelling.

Rappelling with a friction hitch above the device has gone a bit out of fashion. One advantage to rappelling with a prussik hitch above is that it is easy to switch a rappel system into a rope ascending system. The prussik is already attached to the climber's belay loop, so all that he has to do is to add a second friction hitch for his feet below the first friction hitch.

Most climbers now rappel with a friction hitch (usually an autoblock hitch) below the device, attached to a leg loop. This allows both hands to hold the rope below the device which provides for more redundancy in the rappel.
An Autoblock Hitch
A friction hitch works well below the device...most of the time. It is, however, imperative that climbers who employ this technique be extremely careful. If a climber elects to hang from the rope by nothing more than his device and a friction hitch, it is possible that the hitch could be disengaged if it touches the device. Such a thing would result in catastrophic failure. This usually happens when one twists his body away from the friction hitch. If a climber needs to mess around with ropes or something else while hanging from a device and a hitch, he should definitely put a catastrophe knot in below the hitch. This will ensure that should something happen, the climber will not fall to the ground.

Rappelling is the most dangerous thing that we do. So why not create more security by trying to walk off when you can? Or by tying knots in the end of the ropes? Or by putting a friction hitch into the system? Any one of these simple techniques could save your life...

--Jason D. Martin
Sunday, July 29, 2012

August and September Events 2012


8/2 -- Stevens Pass, WA -- Volunteer Clean Up Day

8/4 - 8/5 -- Index. WA -- WTA Goat Mt., Mt. St. Helens trail work party.

8/10 - 8/11 -- Imst, AUT -- IFSC Climbing Worldcup

8/11 -- Lake Tahoe, CA -- Lover's Leap Trail Enhancement

8/ 25 - 8/26 -- Munich, GER -- IFSC Climbing Worldcup


Saturday, July 28, 2012

Weekend Warrior - Videos to get you STOKED!!!

The first clip this weekend comes from Will Stanhope in his sessions in Indian Creek.  He has put up some crazy new routes, linking together previously ignored features with other classic lines.  Just watching this makes my fingers hurt a little!


This next clip features Spaniard Jairo Pandiella tackling his project, Super Gruñón, a tricky 8c from his home crag of Cueva Deboyu in Northern Spain.


Joe Kinder and Collette McInerney have landed in Riggins, Idaho in this latest installment of their road trip videos. 


Have a great weekend!

Friday, July 27, 2012

Three Mountaineers Rescued from Denali

The American Alpine Institute just received the following email from Denali National Park:

TALKEETNA, Alaska:   Three mountaineers were evacuated from the 17,200-foot high camp on Denali’s West Buttress climbing route by the park’s contract A-Star B3 helicopter on Thursday,   July 26.  Two had sustained leg injuries in an avalanche, and were unable to walk.

Danish mountaineers Michael Pilegaard, age 26; Mads Knudsen, age 30 and Nicolai Bo Silver, age 26 had set out from the high camp on Sunday, July 22 for a summit attempt via a non-standard route up the Autobahn, the slope leading from high camp to Denali Pass.  They had scouted the route variation the previous day because they were concerned about the high avalanche danger on the standard route.  While approaching their intended route up the Autobahn, they triggered an avalanche at approximately 1:00 pm. The avalanche swept them from the 17,600-foot elevation several hundred feet down the slope to a point approximately 200 meters from their campsite. Pillegaard, who was relatively uninjured, was able to drag his two companions back to their campsite, where they waited for two days, hoping the injuries would respond to rest and treatment.

On Wednesday, July 25, after determining Knudsen and Bo Silver would not be able to walk, the trio called for assistance on an aviation radio, hoping to make contact with an aircraft providing scenic overflights of the mountain.  A Talkeetna Air Taxi plane heard the call, and notified the National Park Service at 11:30 am.

The park’s A-Star B3 helicopter, which was on assignment in Wrangell-St. Elias National Park, returned to Talkeetna and reconfigured for a reconnaissance flight to high camp.   After the initial reconnaissance, mountaineering ranger Kevin Wright dropped a bag from the helicopter containing communication devices, food, fuel, and a stove to the group. After establishing two-way communication with the party, rangers confirmed that all three were in stable condition, and that two would not be able to climb out under their own power.

Pilot Andy Hermansky flew to high camp site at 9:00 am Thursday and retrieved the climbers in three trips. Knudsen and Bo Silver were evacuated via a rescue basket on the end of a 125-foot long line and the uninjured Pillegaard was loaded into the helicopter for the tripsto Base Camp.  The two injured climbers were met by LifeMed helicopters at Base Camp and flown to Mat Su Regional Hospital for treatment.

All of the registered climbers are now off the mountain. A total of 1223 attempted the mountain this year, and 498 made it to the summit, for a summit success percentage of 40.7%. This is the second lowest summit rate in the last 25 years.

Liz Daley Adventure Report

AAI Guide Liz Daily began working for the institute this spring after returning from a splitboard ski trip to Chamonix, France.  The following blog was reprinted from Teton Gravity Research:
____________________________________________________


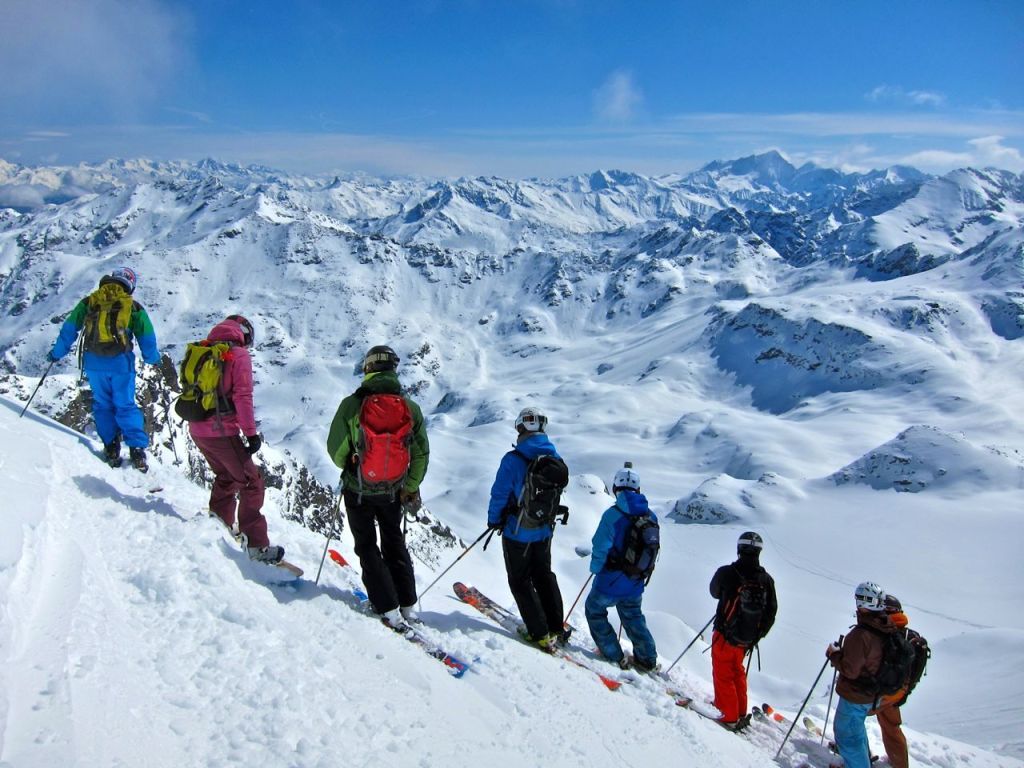
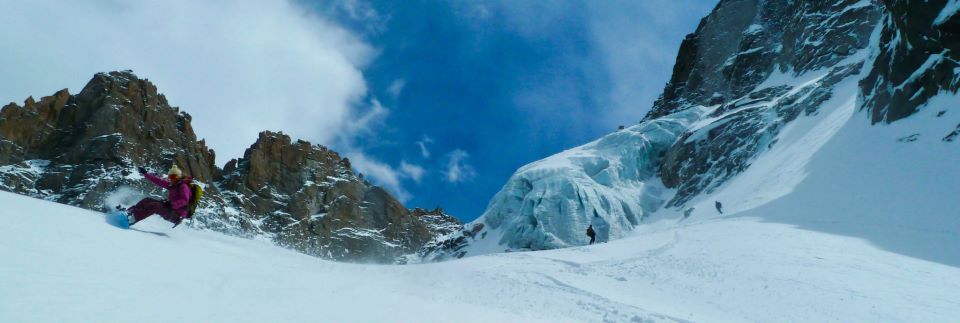
As of three months ago my life has turned into an utter maelstrom of events and obligations. When I arrived to Chamonix mid March the snow was dwindling and summer seemed like it was right around the corner. Then what do you know, a MASSIVE influx of snow and fog rolled in for the entire month of April and we were shredding pow everyday. Verbier was off the hook, we were the only people on the Jumbo and to the top of Mont Fort a couple times. Apparently Switzerland doesn't ski after April 1st. That's fine with me.

Gang bang on the backside of Mont Fort. I'm the only splitboarder.

Jamie Bond photo

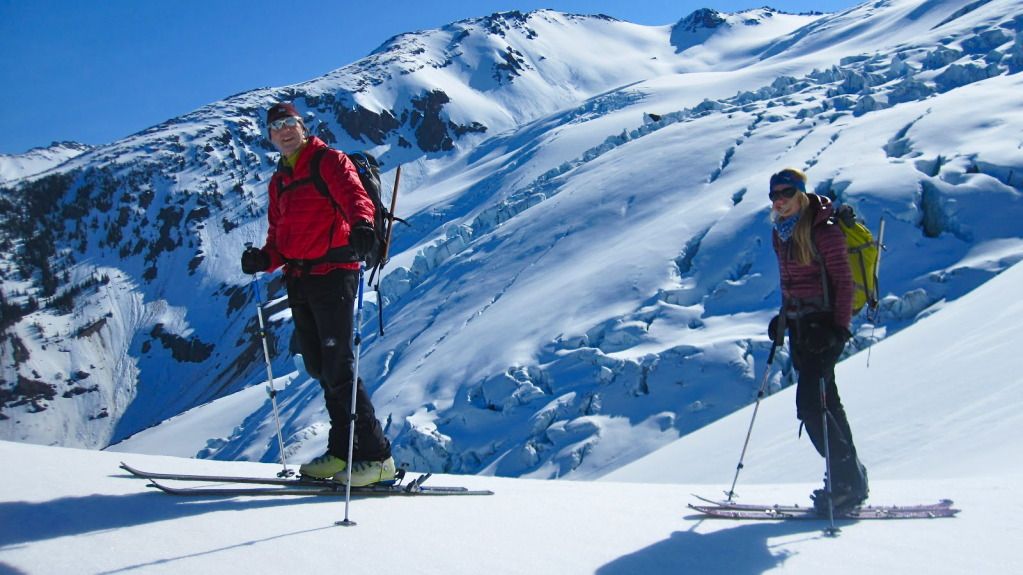
Glacier de Nantillon.


Killer Cosmique Pow

Davide De Masi Photo


Maria De Bari came to visit after she CRUSHED in the Verbier Extreme!


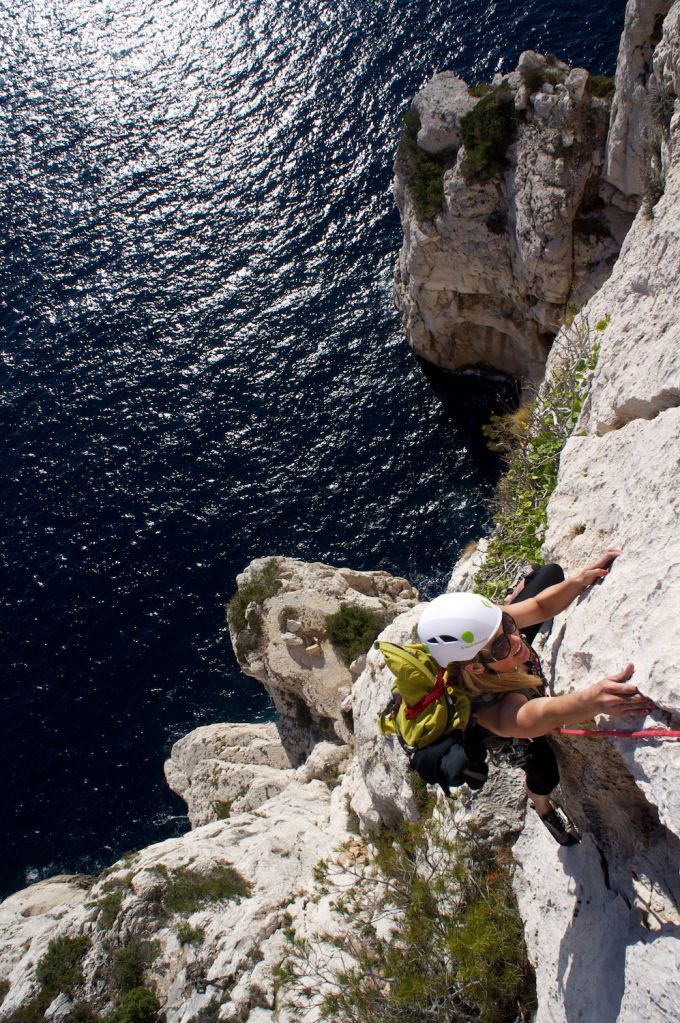
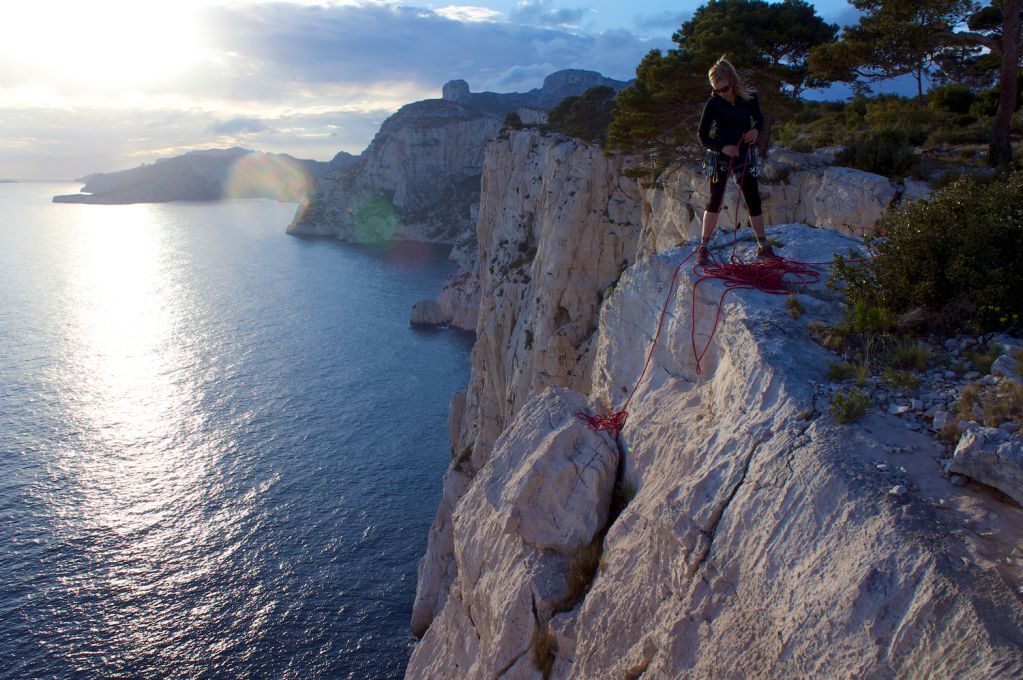
After endless days of bottomless pow we needed some sun, so we went to Les Calanques for climbs. This was a five pitch climb called Eau and Vide. It's only accessible by boat or rappel. Super fun 6a pitches. 


It's SO beautiful here!!!!! PARADIS!


I flew into SLC then had two days to completely move out of my house and drive 14 hours to Leavenworth, Wa to start almost a month of guide training for American Alpine Institute. Three and a half weeks of super intensive training in the bush. As I'm driving I find a funny looking red oval on the back of my arm and Dave told me it was Lyme disease! I broke down, super stressed out, I went into an Urgent Care and sure enough I had the Lyme. I got some antibiotics and was able to rid myself of that nasty crap.

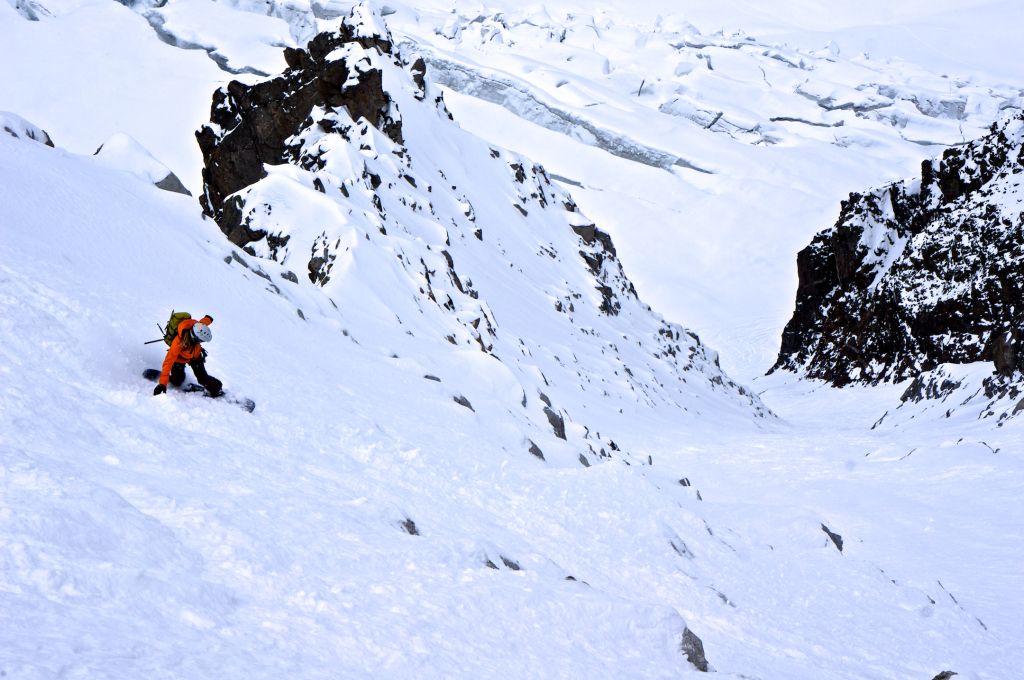
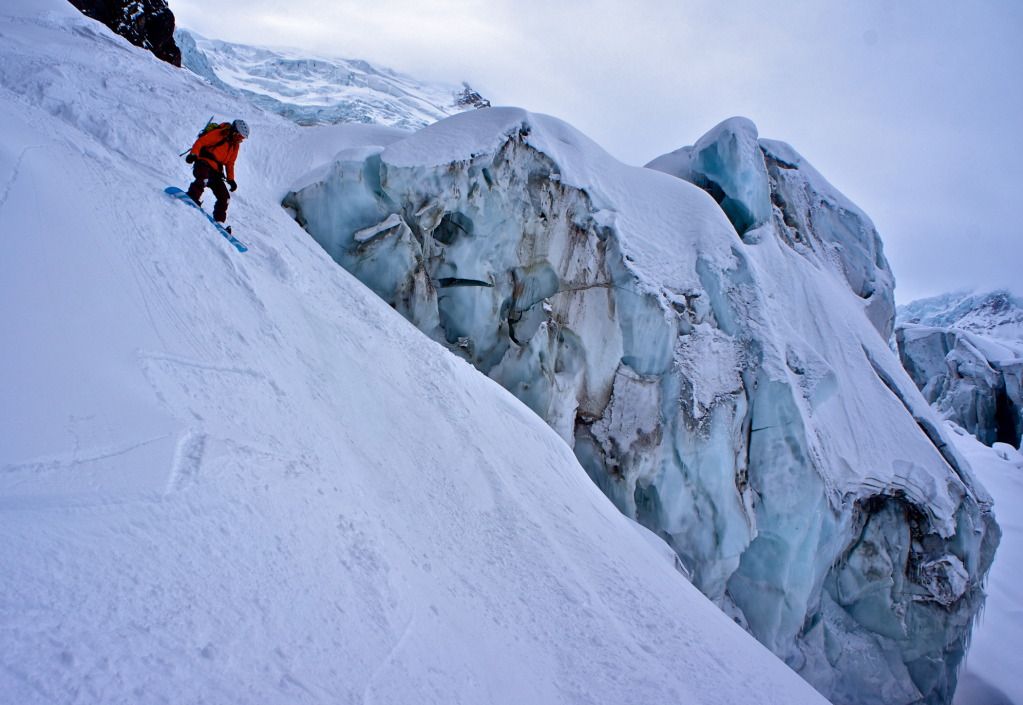
There was six of us in training and we had the most epic weather EVAR!!! Our first trip we headed to Mt. Baker to climb the N. Ridge. I decided not to bring my snowboard boots because my pack was already like 80 lbs so I rode in plastic mountaineering boots with no ankle support. My feet felt like they were going to snap right off. A team of three of us practiced riding down the Coleman glacier roped up with big packs on. It was the hardest snowboarding I've ever done! The rope is constantly getting all tangled around each person. I had to do a 360 on the end of the rope to untangle myself before it almost cut my tit off and made me fall into a crevasse. 


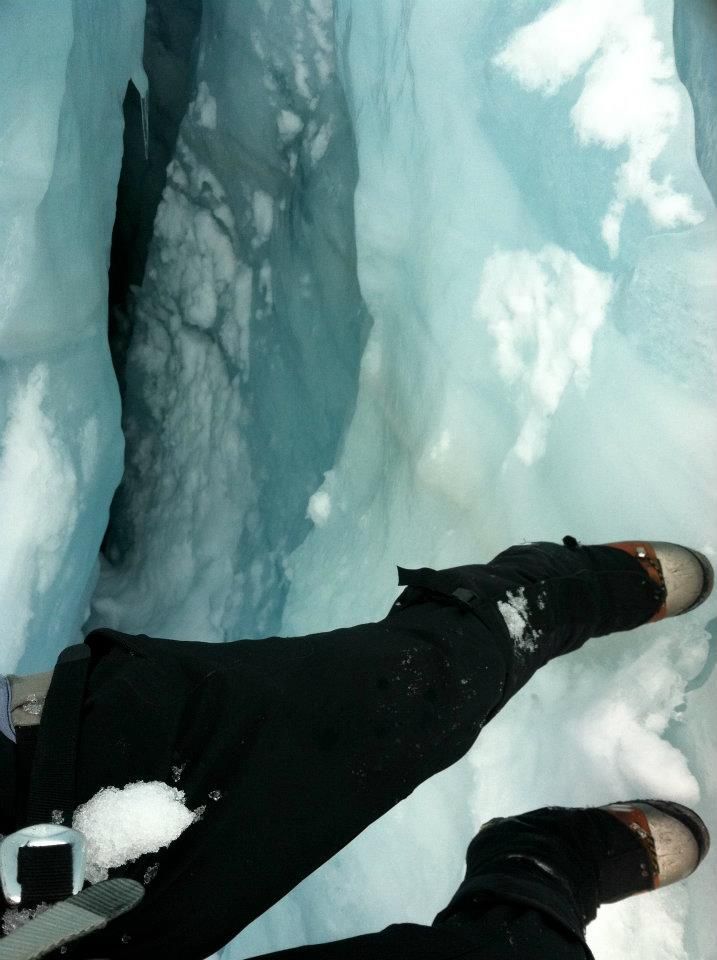
Good thing we know how to do crevasse rescue!


Liberty Bell, Wa Pass


Everett's bindings tore out before the trip so he wore his Scarpa AT boots in a splitboard, with splitboard bindings and had never snowboarded before! Killing it.


We dug a 20 ft. hole by the Mirkwood camp on Mt. Baker for water. There's also a shitter in the woods that AAI drops off there. I had no idea these resources existed! Go get some glacier water and take a leisure poo as you watch the sun set over the Cascades! YAY!


I'll be designing my own courses at AAI out of Bellingham, Washington, combining splitboarding and alpine climbing. They will probably start running next spring. The trips will be from 3-5 days, probably trips up Silver Star, Liberty Bell, the Early Winter Spires or Forbidden Peak. The trips will involve backcountry shreddage, multi-pitch rock climbing, and climbing a multi-pitch alpine route and snowboarding down. I'm also hoping to be doing some backcountry steep couloir clinics and maybe some Cascade volcano trips. 


Contact AAI at (360) 671-1505 for inquiries!!! COME SHRED WITH ME!!!!!!


--Liz Daily, AAI Instructor and Guide

Tuesday, July 24, 2012

How to Uncoil a New Rope!

You've just bought your brand new rope and you are extremely excited to pull it out and get some use out of it. You notice that it is bundled up in a nice tight little coil, and you think, "hey, this is perfect for my pack!" So you take it to the crag.

It's a beautiful day and you're itching to get on a route.  You pull the plastic wraps off the coil, you release the initial wraps, and then...you drop the coils on the ground.

Opps.

Party foul.

Now the whole coil looks like spaghetti, and you spend the next hour trying to untangle the mess.

Sound familiar?

It's certainly happened to me.  And it's certainly happened to a lot of people I know.  And if it hasn't happened to you, it certainly can...

When you uncoil a new rope, you have to be very careful.  Essentially, you have to unspool the coil.  The most ideal way to do this is with a partner. One person puts his arms inside the coil, while the other carefully unspools the rest onto the ground.

This can certainly be done by an individual, but you have to be much more careful.

Following is a video (unfortunately not in English) which shows a technique for uncoiling a new rope.


Happy climbing! 

--Jason D. Martin

Sunday, July 22, 2012

Climbing Events July and August 2012


7/ 25 - 7/26 -- L'Argentiere-- European Youth Cup

7/28 - 7/29 -- Val Daone, ITA -- IFSC Climbing Worldcup

8/2 -- Stevens Pass, WA -- Volunteer Clean Up Day

8/10 - 8/11 -- Imst, AUT -- IFSC Climbing Worldcup

8/ 25 - 8/26 -- Munich, GER -- IFSC Climbing Worldcup

Friday, July 20, 2012

Insect Repellent

It's mid-summer in the Cascades, which means that it's bug season. Sometimes it comes a little before July, sometimes a little after, but this year it came right smack dab in the middle. And it's still here. Racking up at the Blue Lake Trailhead parking lot for a climb in Washington Pass is near suicidal this time of year, as the bugs can seriously ravage you in minutes if you don't start hiking as soon as you step out of the car. You can however, take some preventative measures. Sure you can cover as much skin as possible by wearing pants, long socks and long sleeves, but it sure is hot out and your face, neck, and hands are still exposed. The next thought is, bug spray.


There are many repellent options out there, some which are just down right ridiculous (ultrasound based electronics) and others which may spark arguments among friends. Personally, I find it is an argument (or at least a discussion) starter when I whip out the 100% DEET. Personally, I have found nothing that works more effectively and universally than DEET 100%. Some may recommend that you try products such as Deep Woods OFF which is made up of a mixture of 25% DEET and 75% who knows what. What I find people generally do, is use these compressed aerosol can mixtures and spray copious amounts of repellent all over themselves. The result of this is that they get the same, if not more DEET on them than if they used a more concentrated version sparingly, as well as 75% more of whatever else was in the can.

I choose to use the 100% DEET version and place perhaps one spray pumps worth, or a couple of drops, on my hands and rub the chemical on my exposed skin. Most companies say 100% DEET will last around 10 hours, and I think that's about right, but it doesn't matter because you will know when its effectiveness stops (it's rather dramatic). There are arguments against DEET, such as it discolors skin, decomposes synthetic fabrics and can cause seizures. There have even been four deaths which the EPA says DEET may have played a part in. However the number of reported cases lead the EPA to say that the likely seizure rate is only one in one million users, and I feel like my chance of contracting West Nile Virus, Malaria, Lyme disease, or the bubonic plague is much greater than one in one million. Not to mention the complications of those diseases are generally much worse than seizures.

There are other options besides DEET however, and I suppose I should mention those at least briefly. Avon Products produces a "Skin So Soft" line that contains the chemical IR3535 and some tests have shown that it is just as effective as DEET (if not better), at least when it comes to repelling mosquitoes. I think that this is probably the next best option and what I would try if I took the time to shop around for this product.


"Avon Skin So Soft Bug Gaurd Plus IR3535 Gentle Breeze SPF 30 Sunscreen with Aloe and Vitaman E." Man, I just want to keep the bugs away... not moisturize.

And then there are natural options, which honestly I'm not going to bother discussing. I have never used a single natural product that did anything more than make me smell delicious to koalas. You are more than welcome to experiment with these options, however I encourage you to have some anti-itch cream on hand as well.

Andrew Yasso - Program Coordinator and Guide

Monday, July 16, 2012

Waterfall Ice Climbing - For Real...

An interesting video has been making its way around the web. It's hard to tell where this guy's last piece is, but it's probably a ways down below him.

If there's one take-away from this video, it's that it's probably a bad idea to go ice climbing when the route you're on is running water...


--Jason D. Martin

Sunday, July 15, 2012

Climbing Events July and August 2012


7/20 - 7/21 -- Chamonix, FR --
 IFSC Climbing Worldcup

7/ 25 - 7/26 -- L'Argentiere-- European Youth Cup

7/28 - 7/29 -- Val Daone, ITA -- IFSC Climbing Worldcup

8/2 -- Stevens Pass, WA -- Volunteer Clean Up Day

8/10 - 8/11 -- Imst, AUT -- IFSC Climbing Worldcup

8/ 25 - 8/26 -- Munich, GER -- IFSC Climbing Worldcup


Tuesday, July 10, 2012

Liz Daley Interview on Epic Television

AAI guide and pro snowboarder, Liz Daley, was recently featured on Epic TV. Liz talks about her life and her ambitions as both a guide as well as a backcountry snowboarder in the following video.  You can scroll forward to Liz's interview at the 23:49 mark in the video.

When we saw this video we were also happy to see that a former AAI guide was also featured. Majika Burhardt is a climbing guide and a writer who has spent a great deal of time both climbing in and writing about Africa. Her interview can be found at the 12:41 mark in this video.


We are very happy to have Liz on staff and look forward to having her run splitboard and snowboard clinics this winter!

--Jason D. Martin

Monday, July 9, 2012

The Terror of Rockfall

The only thing in the mountains that is scarier than someone yelling the word,"rock," is someone screaming the word "rock" repeatedly. Rock! Rock!! ROCK!!! When someone yells the word multiple times, you know that what's coming is huge...and you know that what's coming could kill you.

Loose rock is utterly terrifying and we were able to find a couple of videos that really demonstrate that danger. In this first video a couple of climbers are descending a loose trail in the Desert Southwest. One of the climber's slips and barely arrests her fall before the "real" near miss takes place.


In this second video a couple of climbers on Mt. Kenya find some loose rock...some loose rock that had been used as a rappel anchor for years. Check out the terrifying results of a kick to the anchor below:


Is it completely possible to avoid rockfall?

No.

Just like all objective dangers, the danger of rockfall can be mitigated by good decision making. Following are some simple rules that will help you to manage this mountain danger:

1) When you choose a route, it's not a bad idea to climb a route that has seen a lot of traffic over the years, but is not seeing a lot of traffic the day that you're on it.

If a climb has a long history, a lot of the most dangerous chunks will have been removed. If the route isn't busy, then the likelihood of party inflicted rockfall decreases.

2) Wear a helmet. The magazines regularly show high-end climbers without helmets. This is an unfortunate trend that really should go away. There is no legitimate reason not to wear a helmet when you are climbing.

3) Yell rock (or ice), not stick, not sunglasses, not camera, not anything but rock or ice. Yelling something other than one of these two words can lead to confusion. People may not protect themselves adequately from a falling object if the alarm isn't sounded properly.

4) Practice leaning into the wall while keeping your helmet above your head. Don't look up. Hopefully any debris that comes down will bounce over you.

5) Beware of the danger zone ten to thirty feet from the base of a wall. Bouncing objects often land away from the base of the cliff. If you want to create a safe zone where people don't have to wear helmets, make sure it's sufficiently far enough away from the wall.

6) Check and double check all rap anchors on trees and boulders. There have been far too many tragedies from the use of loose natural features.

7) If you elect to climb a "loose" route, be extremely wary of everything that could fall off. It could be argued that it's irresponsible to climb a significantly loose route above a popular climb.

While it's impossible to completely avoid rockfall, following the preceding rules certainly could help you to keep the danger to a minimum...

Jason D. Martin

Sunday, July 8, 2012

Climbing Events - July and August 2012

7/11 - 7/15 -- Lander, WY -- International Climbers Festival

7/8 --Chamonix, France -- European Youth Cup

7/11 - 7/13 -- Ramsar, IRI -- Asian Youth Championship


7/11 - 7/13 -- Chamonix, France -- Climbing World Cup: View Tour Calendar

7/20 - 7/21 -- Chamonix, FR -- IFSC Climbing Worldcup

7/ 25 - 7/26 -- L'Argentiere-- European Youth Cup

7/28 - 7/29 -- Val Daone, ITA -- IFSC Climbing Worldcup

8/2 -- Stevens Pass, WA -- Volunteer Clean Up Day

8/10 - 8/11 -- Imst, AUT -- IFSC Climbing Worldcup

8/ 25 - 8/26 -- Munich, GER -- IFSC Climbing Worldcup


Saturday, July 7, 2012

Weekend Warrior - Videos to get you STOKED!!!

Our first video this week is from Boreal's "True Grip" series of bouldering cuts featuring some great UK gritstone climbing.


True Grip. Part Four - Nic Sellers, Jordan Buys and Naomi Buys. from Boreal Video on Vimeo.

Next up, Dani Andrada, Magnus Midtbø session The Eye of Odin in Norway before the First Ascent is nabbed by Ethan Pringle.


The Eye of Odin (8c+) first ascent from Ethan Pringle on Vimeo.

In this last vid, Dave Burdick, Zac West and John Frieh make a run at Burkett Needle in the Stikine Icecap region of Alaska.


Smash & Grab - An Ascent of Burkett Needle from Dave Burdick on Vimeo.

Friday, July 6, 2012

The Euro Death Knot - Overhand Bend

There is a commonly used knot out there that many people use regularly to join two ropes together that is totally misrepresented by its name. The Euro death knot (EDK) is not dangerous and it is not a death knot. It is likely that American climbers gave the knot this name when they saw Europeans use it because it looked sketchy.

The EDK is officially known as an overhand bend or an overhand flat knot. It would be far better to refer to this knot by one of these names as they do not strike fear into those that use the knot.


The Overhand Bend (AKA Overhand Flat Knot/Euro Death Knot)
In this photo the tail is very short and there is no back-up to the Overhand Bend.
Photo from Wikipedia

Most people like the overhand bend for two reasons. First, because of the knot's asymmetrical profile, it tends to pull smoothly over edges and doesn't get caught as easily. And second, it is very easy to untie.

To tie the knot, lay both ends of the rope together. Make sure that they are pointed in the same direction and then make an overhand knot in both ropes at the same time. This is the overhand bend. Most guides tie a backup by adding a second overhand bend next to the first. This will keep the knot from rolling if there are unexpected high loads.

In the past, most climbers tied the overhand bend alone. If the knot is tied by itself without a backup, there must be a significant tail. It is not recommended to tie the overhand bend by itself.

Some people tie an overhand eight in lieu of an overhand bend. This is far more likely to roll than a unbacked-up overhand bend and is not recommended.

Most of our guides tend to tie not only their rappel ropes together with an overhand bend, but their cordelletes as well. Guides tie their cordelletes with this knot because it is easy to untie. A cordellete that may be opened has a great deal more flexibility. It can easily be opened up and used like a webolette. Some like the ability to open up a cordellete because an open cordellete without a welded double-fisherman's knot can be cut up more effectively for anchor material.

Following is a short video from the Canadian guide, Mike Barter, on how to tie a overhand bend.


--Jason D. Martin

Tuesday, July 3, 2012

Finger Injuries in Climbing

The hangboard.

It sits above the doorway in the office, taunting me. It sits above the doorway, daring me to train. It sits above the doorway, and stares me down. It sits above the doorway...

I can't help it. I'm a climber. It's in my genes. I have to hang on it. I have to do pull-ups on it. I have to climb.

But the reality is that hanging on a hangboard is not climbing. Hangboards are supposed to be for training. In truth hangboards are one of the best ways climbers have devised to obtain sports injuries.

I know only too well. One day I succumbed to the devious taunts of the board and began to train on it. I succumbed and pulled something in my ring finger.

A climber on the Boy Scout Wall in Red Rock Canyon
Photo by Jason Martin

After doing a little research I discovered that I probably injured one of the pulleys in my finger. A great website called climbinginjuries.com provided me with everything that I needed to know in order to get better. They indicated that I had a pulley injury in my finger and they identified three levels of pulley injury.
  • Grade III: A grade three injury usually involves a complete rupture of the pulley creating bowstringing of the tendon. Symptoms of this severe soft tissue injury includes local pain in the pulley, swelling or even bruising, pain when squeezing, pain when extending the finger, and most disturbingly those who get this injury often hear a pop inside their finger.
  • Grade II: A grade two injury is identified by a partial rupture of the pulley tendon. This injury is characterized by local pain at the pulley, pain when squeezing and occasionally pain when extending a finger.
  • Grade IA grade one injury is characterized by local pain at the pulley, pain when squeezing and a sprain of the finger ligaments (collateral ligaments).
Treatment:

These injuries can be quite serious. Some people may require months to recover from a Grade III pulley rupture. Climbinginjuries.com has a prescribed method for treatment:


Go buy some TheraPutty! All orthopedic doctors and physical therapists will recommend putty as a tool for successful recovery.(2) The fingers generally receive poor blood flow so getting blood to the injured area is important. Contrast baths have had mixed results in the literature, but it wouldn't hurt to try. To do a contrast bath, get a bowl of warm water, and cold water. Put injured finger in cold water for a few minutes, then place it immediately in the warm water for a few minutes. Repeat 3-5 times. Finish with the cold water. This could be done after squeezing the putty ball to "flush out" the injured joint. Massaging the effected area can be effective as well. Start out lightly and gradually increase the pressure.

Pulleys
  • Grade III: - Immediately- Stop climbing Apply ice or cold immediately, no more than 15 minutes at a time (1-2 days) Take ibuprofen for 1- 2 day Keep the hand elevated Week 1-2 Don't climb! Don't immobilize the finger. Unless there is a lot of pain, open and close your hand often VERY light massage at the site of the injury. Concentrate on other aspects of your life. Week 4-8 Warm the hands by use of a bath or an electric blanket, then squeeze the yellow (softest) putty. Don't push it, if there's pain…stop. Repeat a few times per day. Go to Grade II Treatment.
  • Grade II: (Week 1-2) No climbing Warm the hands by use of a bath or an electric blanket, then squeeze the red putty. Don't push it, if there's pain…stop. Repeat a few times per day. Lubricate and lightly massage at the site of the injury. (Week 3-6) Tape the injured finger, stretch your forearms (this relieves the stress on the finger tendons) and climb thebiggest holds you can find. Start easy, this will be the quickest way to recovery. If you climb too hard, too fast, then return to the start of Grade 2 and do not collect $200. Always stretch your forearms after warming up and prior to climbing. Start squeezing the medium to firm putty. Lubricate and massage the finger at the site of the injury a couple of times/day. Start lightly and gradually increase the intensity using very short strokes on the injured site. Go to Grade I Treatment
  • Grade I (Week 1) Tape the injured finger and continue to climb at a level well below your normal level. Gradually increase the stresses on the fingers. Stretch your forearms after warming up and prior to climbing. This relieves the stress on the finger tendons. Squeeze the medium to firm putty a few times per day. Lubricate and massage the finger at the site of the injury. Start light and gradually increase intensity. Very short strokes on the injured site. Expected outcome Take advice from a practitioner who specializes in climbing. However, if treated early and effectively, with an appropriately graded return to activity, recovery will usually take 3-8 weeks. However, if the injury is pushed beyond its stage of recovery, re-injury will occur and may result in a chronic injury that will require a much more protracted rehabilitation period.
The best way to recover from a finger injury is to avoid getting hurt in the first place. Here are a few rules to live by:
  1. Always warm up on easy climbs. Don't jump straight onto the hardest thing you can get up.
  2. Stretch your fingers.
  3. Don't overtrain. If you are climbing hard then you should probably avoid climbing every day. Strong sport climbers will often climb every other day.
  4. Stretch your fingers again.
  5. Massage your forearms between burns.
  6. Stretch your fingers more.
Sooner or later my finger will heal up and when it does I'll train more consciously. The hangboard definitely requires a bit more care. The last thing I need is another finger injury to crimp my crimping style!

--Jason D. Martin

Sunday, July 1, 2012

Climbing Events July and August 2012

7/5 -- Pasadena, CA -- Doug Shepard Slideshow: An idiots guide to self abuse

7/11 - 7/15 -- Lander, WY -- International Climbers Festival

7/8 --Chamonix, France -- European Youth Cup

7/11 - 7/13 -- Ramsar, IRI -- Asian Youth Championship


7/11 - 7/13 -- Chamonix, France -- Climbing World Cup: View Tour Calendar

7/20 - 7/21 -- Chamonix, FR -- IFSC Climbing Worldcup

7/ 25 - 7/26 -- L'Argentiere-- European Youth Cup

7/28 - 7/29 -- Val Daone, ITA -- IFSC Climbing Worldcup

8/2 -- Stevens Pass, WA -- Volunteer Clean Up Day

8/10 - 8/11 -- Imst, AUT -- IFSC Climbing Worldcup

8/ 25 - 8/26 -- Munich, GER -- IFSC Climbing Worldcup