Monday, August 29, 2022

Rappelling Rope Climbing Trick

One of my favorite "rope tricks" is to quickly and easily switch a rappel set-up into a rope climbing system. Indeed, I've been able to amaze a number of people with the simplicity of this set-up. One of our guides even referred to this technique as being "like magic" because it almost seems like a slight of hand it's so quick.

To easily switch from a rappel into rope climbing, you will need an autoblocking device from which you will rappel on an extension. This will require you to girth-hitch a sling through the tie-in point on your harness. Clip a locking carabiner to this extension and then run your rope through your autoblocking device the way you would normally rappel. The actual device will then be at chest or face height.

Extended rappels are extremely useful for a variety of reasons. They make it less likely that any clothing will get caught in the device, they ensure that your autoblock back-up is completely incapable of touching the the device, and they allow for tricks like the one described here.

To convert your rappel device into a rope climbing device, simply clip a locking carbiner to the "fin" of the autblocking device. From there, you will have to stand up on a small ledge in order to clip the fin to your belay loop. Once this is clipped, the device will autolock. If you pull rope through the device to climb up, it will automatically lock off.

In this picture, the sling was formerly the extension.
Photo by Zeph Locke

If you are on lower-angled terrain and are able to climb up the face, then you will not need to do anything more than to pull the rope through the device as a self-belay. However, if you are on steeper terrain, you may be required to add a foot prussik. This should be added to the rope above the device.

In this photo the sling is used for a foot prussik to assist in climbing the rope.
Photo by Zeph Locke

Once you have climbed back up the rope for whatever reason you needed to climb back up the rope, then you can easily revert the system back into a rappel by unclipping the device from the fin. Once you've unclipped this, your system will once again look like an extended rappel and you will be able to descend.

While rope tricks are rope tricks, sometimes they can be valuable. I have often used this particular trick to release a stuck rappel rope or do a variety of other things on the cliff. The more rope tricks that you know, the more tools that you have in your toolbox...and a big toolbox of tricks and techniques is arguably the best way to be ready for anything...!

--Jason D. Martin

Friday, August 26, 2022

How to Safely Cross a River

Every year I attend several risk management conferences and events for outfitters and guides of all stripes, and every year it's the same. The greatest risk to the backcountry traveler tends to be water. The most common outfitter and guide concern is the possibility of a drowning while an individual swims recreationally. But another common and big concern is the ability to effectively cross a river.

I can't tell you how many thousands of rocks I've hopped while crossing small creeks. And I also can't tell you how many times I've helped people as they crossed these features in an unstable way. Obviously, the best way to manage small creeks is by using trekking poles and picking rocks to step on that don't appear to be too slippery. It's also a good idea to avoid crossings above hazards, such as waterfalls.

But what about bigger water obstacles?

The staff at Backpacker magazine have put together a nice video on this subject. Check it out below.


In review, here are some considerations:

Try to Avoid Deep Crossings - Try to avoid crossing anything that is deeper than your knees. You can check the depth by throwing a rock in the river where you intend to cross. If the rock makes a "ker-plunk" sound, the river is deep and may be too difficult to cross.

Look for Hazards Downstream - Don't cross above waterfalls, rapids or any other feature that could hurt you if you fall.

Look for Wider Areas to Cross and Avoid Bends  - Wider areas tend to be shallower. And the current tends to be faster around bends.

Look at Waves - Standing waves can indicate boulders and fast water. Washboard light waves indicate a more uniform bottom.

Extra Shoes - If you have extra shoes, it's best to wear them for crossings. It is not ideal to have wet boots and socks while hiking as that can lead to blisters.

Unbuckle Packs  - An unbuckled pack tends to be better because you can get out of it quickly if you fall.

Crossing Strategies - Use trekking poles or sturdy sticks to enhance stability. Face upstream and cross at a slight downstream angle. Sidestepping or shuffling across can also help with stability.

Link Arms  - If the water is deeper, or if someone doesn't feel as stable, partners might link arms to enhance stability.

Tripod Technique - This is a river crossing technique that requires three people. Each person puts their hands on the next person's shoulder in a circle. The tallest person is upstream. The team then shuffles across.

River crossings are dangerous. Take your time and find the right spot to cross...

--Jason D. Martin


Thursday, August 25, 2022

Climbing and Outdoor News from Here and Abroad - 8/25/22

Northwest:

Stawamus Chief in Squamish
Exasperator can be found on the far right side of the photo.

--Gripped is reporting that, "a rock climber in Squamish took a 15-metre fall off of Exasperator at the base of the Grand Wall. A helicopter was involved in the rescue. According to initial reports, the climber broke their pelvis and had other minor injuries." To read more, click here.

--There is an ongoing search and rescue operation in the Picket Range in the McMillan Spire area. This operation is being run by North Cascades National Park with volunteer mountain rescue units responding. It's been reported that there's a missing person. 

Sierra:

--Unofficial Networks is reporting that, "the story of one of the most tragic stories in ski history is making its way to the big screen. Buried: The 1982 Alpine Meadows Avalanche Film has received rave reviews from audiences, the Audience Award from Telluride’s Moutainfilm festival, and it will soon be coming to theaters." To read more, click here.

Colorado and Utah:

--Karen Sahn, a guide who worked part-time for AAI over a couple of years in Las Vegas, passed away earlier this year. Climbing has produced a very nice write-up on her life. To read it, click here.

--The Sacramento Bee is reporting that, "a climber plunged dozens of feet after his equipment failed on a Colorado rock formation, deputies said. The climber was on Yellow Spur in Eldorado State Park on Saturday, Aug. 20, when he suddenly fell, the Boulder County Sheriff’s Office said. “The climber fell and his piece of safety equipment pulled out of the rock,” deputies said in a news release." To read more, click here.


--SnowBrains is reporting that, "The Gallatin National Forest Avalanche Center’s (GNFAC) annual avalanche report was recently released. It shows Colorado to have the highest number of avalanche fatalities over the last ten years (64). Montana was ranked 2nd with 33—still six higher than the national average of 27." To read more, click here.

--Unofficial Networks is reporting on obscene season pass prices. "Aspen’s Premier Pass, which has unlimited access and no blackout dates, starts at $2,599 for adults with price increases capping out at $3,099 if purchased after December 3rd." To read more, click here.

--SnowBrains is reporting that, "Park City Mountain Resort, UT, will charge for parking this winter, the resort confirmed in a statement yesterday. A reservation system will be in effect from December 12, 2022, through April 2nd, 2023, and will include $25 paid parking as well as some free parking. Incentives will be available for those carpooling or using transit." To read more, click here.

Notes from All Over:

--KZBK Bozeman is reporting that, "On August 16, a rock climber in Big Sky near Bear Basin fell 100 feet and sustained severe injuries. Gallatin County Sheriff Search and Rescue Big Sky Section, the SAR Heli Team, Big Sky Fire Department, and Life Flight responded to the call to provide assistance." To read more, click here.

--Backpacker is reporting on the hazards of selfie-taking in the mountains. "When a tourist or hiker falls from a high place or gets charged while photographing an animal, internet commenters’ knee-jerk reaction is often to blame it on clout-driven selfie-seeking. There’s some evidence that they may not be off base: Researchers in Turkey studied 159 'selfie victims' injured or killed while trying to take photos and found that 43.2% of accidents took place in nature, with cliff edges being a preferred site for selfies. One hiker who gets away with a risky selfie may lead to others doing the same, and certain hiking destinations may be seen with more acceptance than risk over time." To read more, click here.

--Unofficial Networks is reporting that, "after a challenging past couple of years, the National Ski Patrol continues to be in turmoil. Ski Area Management reports that the CEO of the National Ski Patrol, Chris Castilian(pictured above), announced his resignation after only thirteen months on the job. He has tried to enact change on a variety of issues but has been met with fierce resistance from the NSP’s Board of Directors. 

--Backpacker is reporting that, "you can no longer get your photo taken next to the world’s tallest tree—and that’s probably a good thing. Officials at California’s Redwood National Park recently closed the area surrounding Hyperion, a massive 380-foot coast redwood that is believed to be the planet’s tallest living tree. Hyperion is located deep within the park and is not accessible by a trail. Still, visitors have bushwhacked pathways through the brush to visit the trail, and the uptick in tourists has caused damage to the surrounding area and to the tree itself." To read more, click here.


Monday, August 22, 2022

Everything I Bring in My Backpack - Miranda in the Wild

She's at it again...Miranda, with another great video!

This is a nice piece about what Miranda brings in her pack, and how she packs it for backpacking adventures.


--Jason D. Martin

Friday, August 19, 2022

Rappelling into a Crevasse and Climbing Out

Following a crevasse fall, it is possible that the person in the crevasse will be injured or unconscious and upside down. If the person in the crevasse needs help, then you have to make a decision. Is it better to haul the person out? Or is it better to rappel down into the crevasse to help them...?

Outdoor Research and the American Mountain Guides Association have put together an excellent video on how to rappel into the crevasse and climb back out. Check it out, below:


In the video, Jeff doesn't give enough credit to the fact that this was shot in a late season snowpack. This means that the lip of the crevasse is relatively well consolidated and that it is easy to pad. That is not always the case. Indeed, sometimes climbing back out of the crevasse with a tiny lip is incredibly difficult. It is important to practice that element.

At AAI, it's not uncommon for us to use road cuts early in the season to practice crevasse rescue. This eliminates long hikes and wet gear. If there is a road cut near you that is snowy and doesn't have any traffic, this can be an excellent place for winter or early season crevasse rescue practice.

Climbing in and out of a crevasse is hard. Jeff makes it look easy. But it's not. You'll likely need a lot of practice to dial this in...

--Jason D. Martin

Thursday, August 18, 2022

Climbing and Outdoor News from Here and Abroad - 8/18/22

Northwest:

--Fighting forest fires is extremely hazardous and the heroes that do this job are not thought about enough. From Your Northwest Forests: "With heavy hearts we share that wildland firefighter, Collin Hagan of the Craig Interagency Hotshots, was killed yesterday after sustaining critical injuries from being struck by a tree while engaged in firefighting efforts on the Big Swamp fire near Oakridge, Ore. on the Willamette National Forest." To read more, click here.

--Mt. Shasta is being crushed by 100-degree plus days. Read about it, here.

Sierra:

--Climbing is reporting that, "Anna Parsons, 21, is recovering in the hospital after a brutal 80-foot fall on August 1 on a Yosemite ultra-classic, Half Dome’s Snake Dike (5.7 R). Parsons broke nearly every major bone in her body, including her spine and pelvis. The damage to her left foot was irreparable, and she opted to have it amputated shortly after the accident." To read more, click here.

Desert Southwest:

--Snowbrains is reporting that, "In response to record inflation, Taos Ski Valley Inc. (TSV Inc.) will raise employee wages by an impressive 7.5%. TSV Inc. is one of the largest employers in the county and the raise is an altruistic effort to provide its employees with a living wage." To read more, click here.

Colorado and Utah:


--The Durango Herald is reporting that, "A Colorado man died Monday after falling about 30 feet while descending Windom Peak in the Chicago Basin area in the Weminuche Wilderness north of Durango. The victim was identified as Douglas Christensen, 53, of Castle Pines, according to a news release issued Tuesday by La Plata County government." To read more, click here.

Notes from All Over:

--Fox News is reporting that, "A California climber was rescued at Mount Diablo State Park Monday after falling as much as 60 feet down a cliff, authorities said.  The 19-year-old male, whose name was not immediately released, was climbing Sentinel Rock on Mount Diablo around 4:40 p.m. when he fell between 30 and 60 feet and landed on a ledge, California Highway Patrol’s Golden Gate Division Air Operations said." To read more, click here.

--Wyoming's Explore Big Sky is reporting that, "a rock climber fell nearly 100 feet yesterday morning near Bear Basin, sustaining multiple injuries. The entire group of climbers, including the one who fell, was on a small ledge about 300 feet above the ground when they called Gallatin County Dispatch for rescue help." To read more, click here.

--FN News is reporting that, "REI Co-op and Capital One have teamed up on a new card partnership — and have found a way to make it sustainable. The outdoor specialty retailer and the financial corporation revealed their card partnership today and launched the new REI Co-op Mastercard program. In addition to the list of benefits of the REI Co-op Mastercard, the companies revealed in a statement that the card itself is made of 85% recycled materials." To read more, click here.

--Outside has a piece on why the national parks keep flooding this year...

Monday, August 15, 2022

Rappel Technique: Throwing Ropes

In cooperation with Outdoor Research, the American Mountain Guides Association has made several videos for beginning level climbers.

In this video, AMGA Instructor Team Member, Jeff Ward, demonstrates several techniques for throwing ropes down a pitch for a rappel.


Torpedo

In his first demonstration, Jeff shows a technique wherein you stack the rope carefully and then wrap up an end. You throw this end down and it pulls the rest of the pile down with it.

Stages

Mark Twight referred to the second technique as "staging" in his book Extreme Alpinism. In other words you throw the rope down in separate stages. In the video, Jeff throws the rope down in two stages, starting from the middle. This often allows the rope to get down further and to get hung up on less items.

Saddlebags

And finally Jeff demonstrated the Saddlebag technique. This is the technique where you lap coil the rope and then hang it off of slings on either side of your body. The rope then feeds out from the slings. This allows you to rappel into the wind or to avoid dropping a rope on top of someone.

--Jason D. Martin

Friday, August 12, 2022

Route Profile: NE Buttress, Johannesburg Mountain (V, 5.8, AI 2)

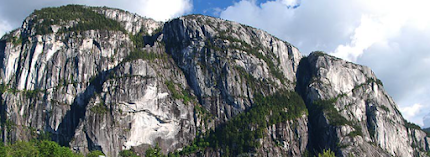
Johannesberg Mountain is massive. It is one big mountain and it literally towers above the popular Cascade Pass trailhead.

The Northeast Buttress is the longest line on the mountain on one of the biggest walls in the range. There is a long history of people suffering epics on this route, and it is not uncommon for people to return one to two days late from an ascent of the mountain.

This reputation has always scared me a bit. I've spent a lot of time looking at the mountain from Boston Basin and I've always thought, I should try that. But then figured it was a dumb idea, that the wall was too big, too bushy and too demanding.

But with the help of the internet, some of my fears dissipated. Steph Abegg has an awesome website devoted to climbing in the Cascades and everywhere else. Her excellent description gave us just enough to commit.

So in July of 2015, we climbed the line. And this is what we found...

Johannesberg Mountain Route Topo
Click to Enlarge

Johannesberg Mountain
Profile by Steph Abegg
Click to Enlarge


The route can be split into several sections:

Chossy Start

Climb up to the base of the slabs on steep snow. Climb up onto the slabs and work your way up to a place where you can cross the waterfalls.

These slabs look benign from below and they aren't really any harder than 5.5, but they are loose and there is very little protection. Knife-blade pitons can provide some extra security.


A typical lead low on the mountain.

Vertical Bushwacking

After the slabs, the goal is essentially to climb up and right toward the ridge. This sounds reasonable at first, but then you realize that to do this, you will have to make your way through a literal wall of brush. Climb up vertical and semi-vertical brush and trend right. You'll be doing a lot of tree climbing on this trip.

If you brought an ice axe or a picket or anything else, be sure to put them inside your pack. The trees will try to take them away. Rest assured, anything and everything on the outside of your pack will get caught on branches.

Steep Heather

Eventually you will break out of the trees on the buttress proper. The character of the route changes here. Now you will be working your way up steep heather slopes on the ridge. If you elect to simul-climb there will be marginal protection every 200-feet or so.

You may wish to use your ice axe and crampons in the heather to increase your security.

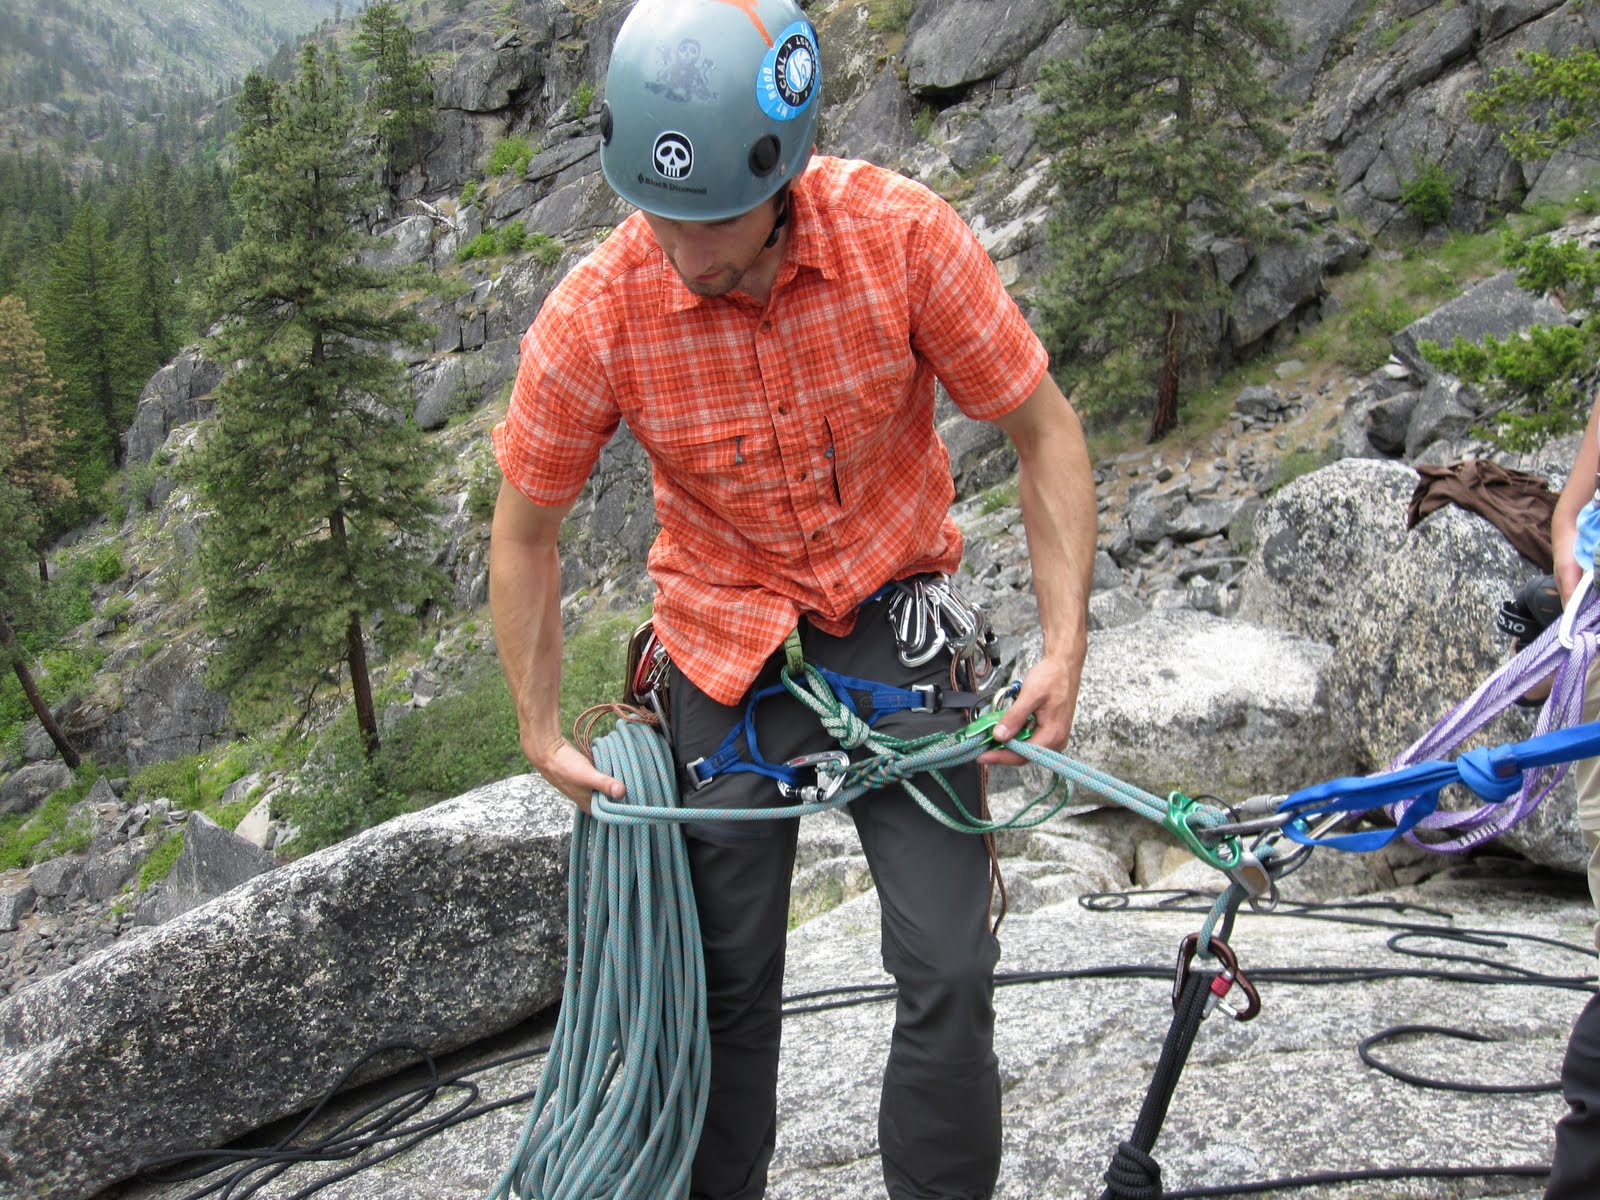
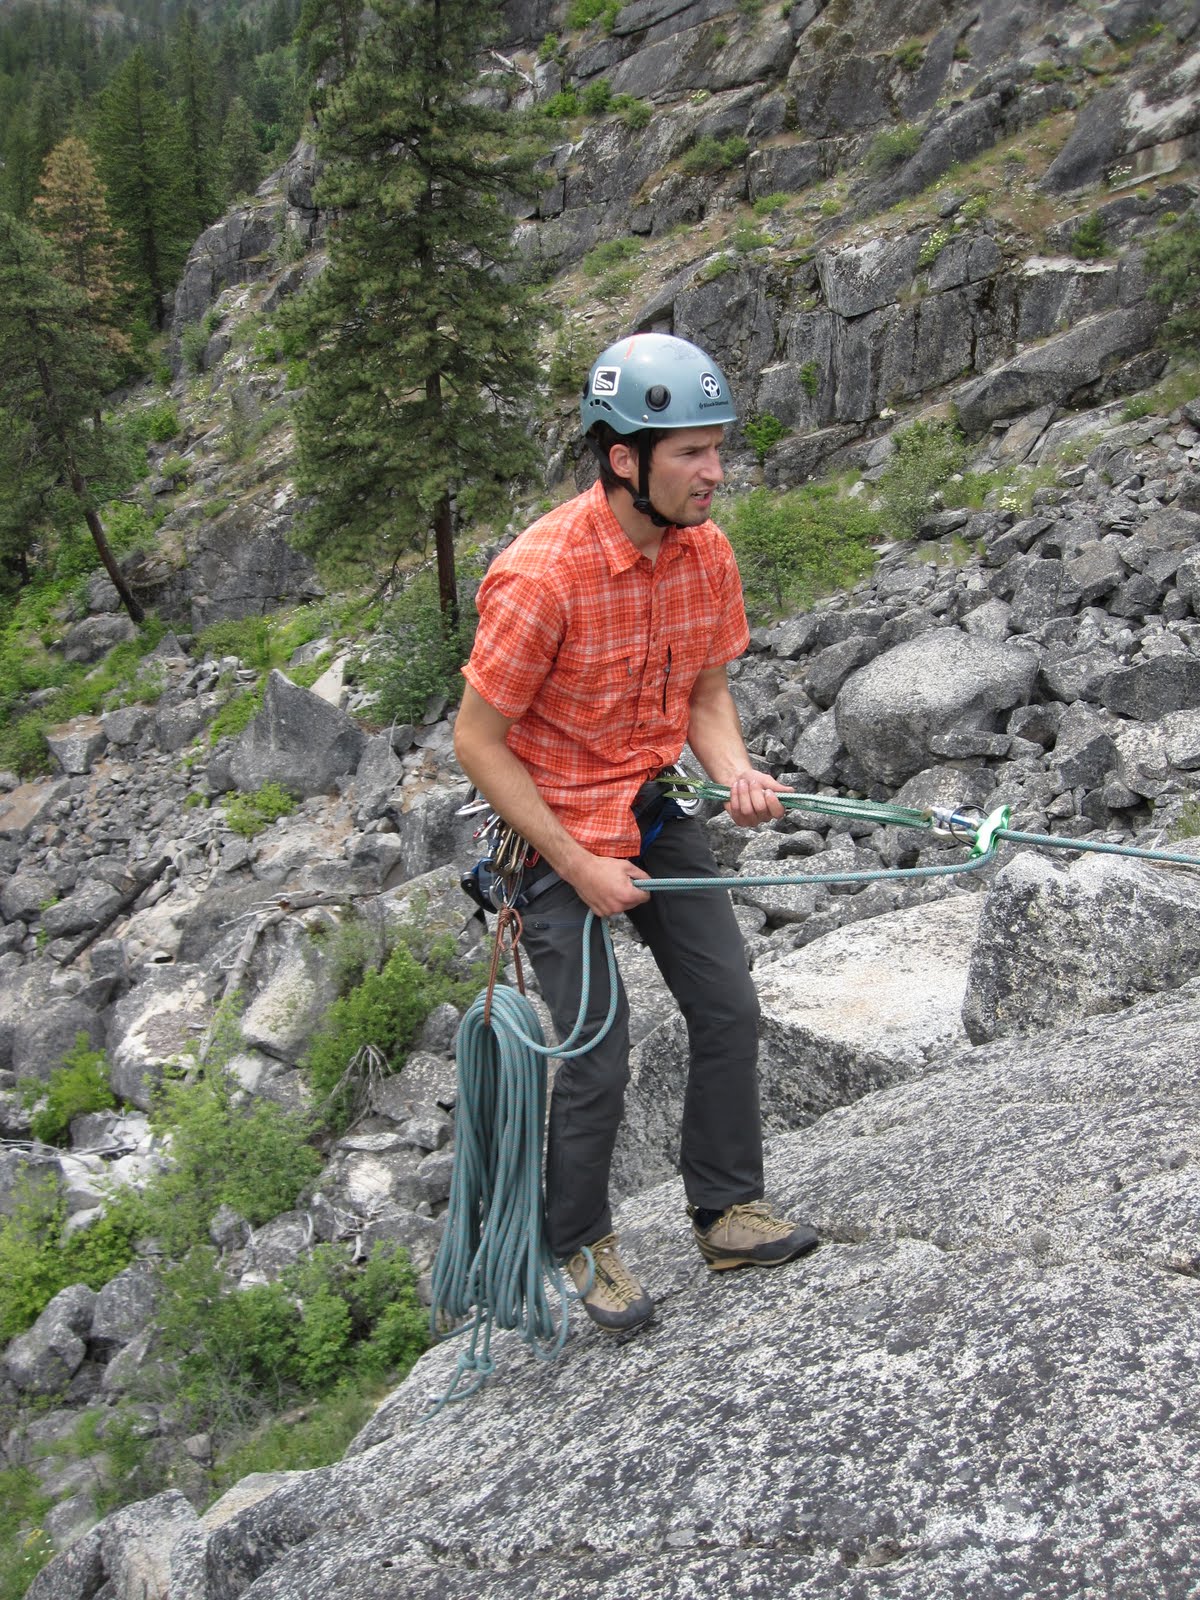
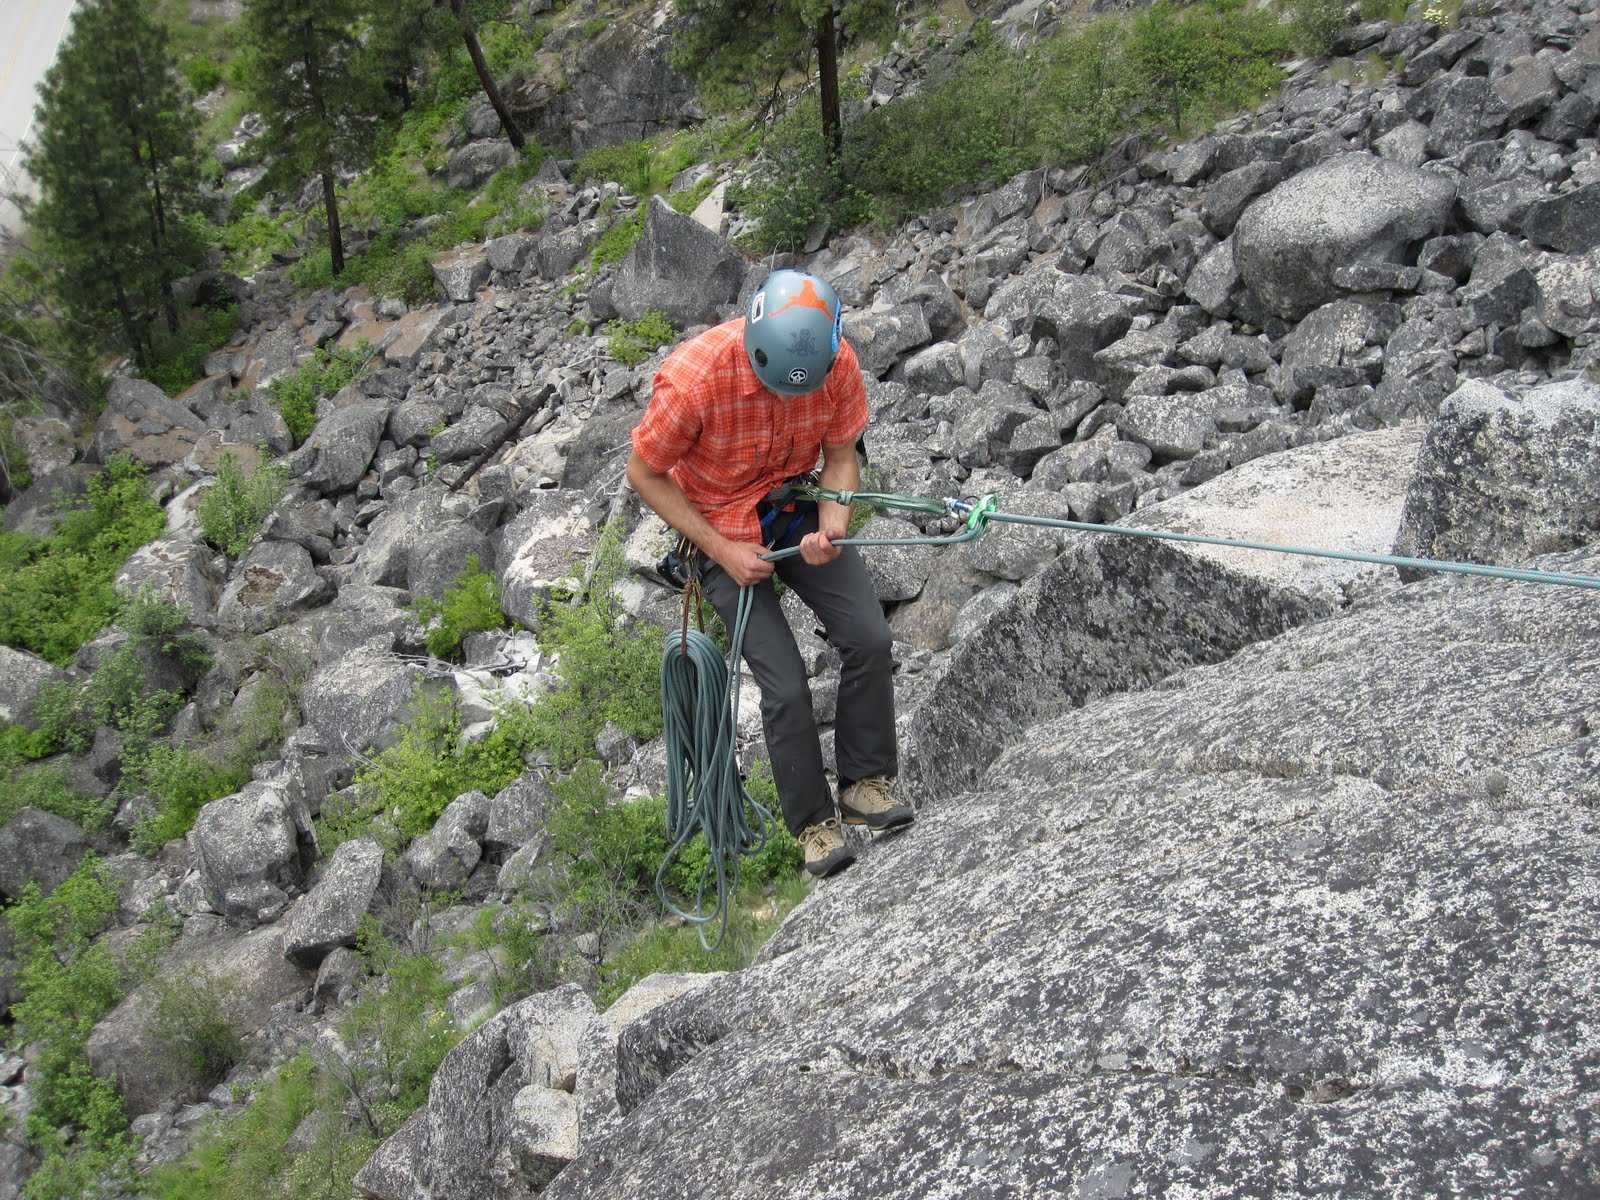
AAI Guide Will Gordon on the Buttress in the Heather

Moderate Rock

Eventually the heather begins to fade into rock. You'll reach a sharp ridge followed by a headwall.

Some parties elect to rappel down into the gully climber's right of the ridge. Apparently there is a piton rap station somewhere. From there they climb forty-degree snow. We elected to traverse to the left to a short chimney that was mostly 5.5, with a couple of 5.8 moves right off the deck.

Following the chimney follow moderate rock up to a bivy site at 7,100-feet, at the base of the glacier.

Bivy

For most parties it will take 8-12 hours from the base of the buttress to the bivy site. If summer, there will likely be running water at the site.


AAI Guide Will Gordon at the Bivy
with the Torment-Forbidden Traverse in the background.

Snow Arete

Following the bivy, climb up onto the glacier. Follow the steep snow arete up onto the broader glacier. The arete drops off steeply on both sides. Be prepared to take appropriate precautions here.

The snow arete.


Looking back down at the snow arete from above.

Glacier Travel and Ice Climbing

Continue up the glacier, trending toward the final steep headwall. There are reports online that the final headwall can be quite steep and icy. In July of 2015 we found it to be a single 200-foot ice pitch. Three ice screws were adequate to protect it and we didn't feel the need for a second tool.

Trending toward the ice pitch. The ice pitch can be seen up in the left-hand corner of the picture.

It should be noted that there are many low-angle and flat spots on the glacier that could be carved out for a higher bivy than the one found on the rocks below the glacier. However, due to sun cupping in the summer, you may have to do some work to create a platform.

Summit

Once on top of the ice pitch, there will be two notches in front of you. Climb up to the notch on the right and drop over to the west side. Scramble to a small notch and then up to the summit.

AAI Guide Will Gordon climbing up and through the right-hand notch
near the summit.

You may leave your packs at the snow if you want to move quickly. The summit is only a few minutes away.

It should take between 1 and 3 hours for most parties to get to the summit.

East Ridge Descent

Many of the descriptions on the internet do not give credit to the sketchiness of this descent. They often say things like, you can rappel or descend a loose third and fourth class gully. This is all true, but there is significant traversing along the southwest side (right) side of the ridge before you reach the gully and rappels.

From the summit go back to the snow and climb through the left-hand notch. You will now be on the right-hand side of the ridge. Descend along this side of the ridge, staying below the ridge crest until the final two small ridge summits come into view. There may be a few carins along the ridge to help you along your way. When you see the final two mini-ridge summits, climb back up onto the ridge onto better rock.

At this point you will be looking down a sketchy gully. Note that on the left-hand side of the gully, approximately 200-feet down there will be a little tower. In 2015 there was a carin on this tower next to the first rap anchors.

Scramble down to the rap anchors and make one rope stretcher rap or two shorter rappels to a big block. Make two or three more rappels down until you are in the heather once more. Climb down through heather to another slightly hidden rap station and then make two more rappels down to the CJ Col. This could require up to seven rappels.

Many of the rappels are around large blocks. Be sure to bring lots of cord to backup sketchy anchors. And double check the boulders that are wrapped, some of them are suspect.

In theory, one could descend the loose gully instead of rappelling, but that looks sketchy.

It will take 3-5 hours for most parties to negotiate the ridge descent.

Doug's Direct

There are three ways that you could get back to the Cascade Pass parking lot. The first is to descend the CJ Col, which would be super sketchy. The second is to traverse below the Cascade Peak, the Triplets and Mixup Peak to join the Ptarmigan Traverse Trail and to drop over Cache Col. And the third, and perhaps quickest way is to use Doug's Direct.

To use the Doug's Direct Route, traverse under the south faces of Cascade Peak and the Triplets and then ascend up the North Ridge of Mixup Peak. The crossover is not obvious, and it's not a bad idea to have a waypoint or the awesome picture that Steph Abegg took below.


Doug's Direct
Overlay by Steph Abegg
Click to Enlarge

The other side of Mixup is composed of slightly better 3rd and 4th class rock, that steps down. Drop down on the steps and contour right into steep heather and 3rd class terrain. Be careful here as a fall would be deadly.

Eventually you will find a heather filled gully that will drop you down onto the Cache Glacier.

Personally, I found the steep heather to be a bit much when dehydrated on day two of the climb and would probably opt for the Cache Col option if I were to do the route again.

It will take most parties 4-6 hours to complete the Doug's Direct descent and make their way back to the parking lot.

Note

People go a lot of different ways on this mountain. Amazingly, trip reports vary from people finding literally vertical ice at the top, to people finding a way to avoid roping up for most of the ascent. If these notes don't make sense to you, follow your nose... You'll get there.

Gear

--Small single rack up to a #2 Camelot
--3 ice screws
--1-2 snow pickets
--2-3 knife blade pitons (optional)
--Ice Axe (with a hammer if you have pitons)
--Crampons
--60-meter rope

Times

It took AAI Guide Will Gordon and I, the following to get to each area:

--Base to Bivy - 9 hours, 15 minutes - we took one 15 minute break, but spent a lot of time in the brush. Upon later reflection it's likely that we weren't on the best line. It took Steph Abbeg about 8 hours. It was also 90-degrees on the day we climbed and we ran out of water. This slowed us down a bit.

--Bivy to Summit - 2 hours, 30 minutes - Others report two hours, some report more. We had one ice pitch and a little poking around to find the actual summit. If you have to climb an overhung bergshrund, this could be a lot longer.

--Summit to Base of East Ridge - 5 hours - Another complex area. This would be a lot faster with better beta. Hopefully, I've given that to you above.

--Base of Ridge to Car via Doug's Direct - 6 hours - This was at least two hours longer than it needed to be. We were definitely slow due to dehydration again and it was ninety degrees out again. But we spent some time trying to figure out where Doug's Direct was...

In the summit register it shows a well known sponsored climber's name who has since passed away as being 11-hours, car to summit. Our total time was 11:45 car-to-summit. So this seemed good. However, AAI guide and super-athlete Chad Cochran and AAI Guide Mike Pond, did the route car-to-car in 11-hours...!

--Jason D. Martin

Thursday, August 11, 2022

Climbing and Outdoor News from Here and Abroad - 7/11/22

Northwest:

--A climber who suffered a tragic fall on Mt. Hood on March 6th has been recovered. To read more, click here.

--So, somebody thinks they got Bigfoot on camera. Check it out, here.

Colorado and Utah:

--The Denver Post is reporting that, "A Denver-area man died in a fall while climbing the Crestone Traverse, and his fellow climber was rescued off of the mountain after the incident. On Wednesday Custer County Search and Rescue responded to the fall, which happened at about 13,000 feet, according to a news release. The climbing pair were off-route when the man fell. The other climber was able to reach him, but she then couldn’t ascend or descend safely from that point. She summoned help using a Garmin inReach, a satellite network device, and then further communicated with responders by using a cell phone." To read more, click here.

--A climber was hit by rockfall while hiking into a crag in Little Cottonwood Canyon this week. From KSL TV: "A South Jordan family is hoping for a miracle after their daughter was injured while hiking. Jessie Liddiard, 25, was hit by a falling rock at Hellgate Cliffs Friday. Her mother, Tricia, said her adventurous daughter always took precautions and wore a helmet at the time of the incident." To read more, click here. A Go-Fund-Me has been set up for this climber.

--SnowBrains is reporting that, "a new grassroots effort has emerged out of the Colorado High Country to turn the area of Keystone into an official town. The petition signing started this week and is now underway. The first person to sign? 96-year-old Bill Bergman, Keystone’s forefather and original co-founder." To read more, click here.

Notes from All Over:

--As anthropogenic climate change creates chaos in the mountains and on the glaciers of Europe, a French mayor has begun to charge climbers on Mont Blanc a "funeral deposit." To read more, click here.

Monday, August 8, 2022

Saddlebags for Rappelling

Rappelling is always tricky. It is the most dangerous thing that we do in the mountains and there are a lot of things to worry about. Are the ropes touching the ground? Are you clipped in properly? How many rappels do you have to do? Should you knot the ends of the rope or not? Are there people coming up below? And will the rope hang up when you throw it?

This particular article is about the last two issues. Are there people climbing up from below and will the rope get hung up when it's thrown? If there are people below or the rope looks like its going to get hung up, then the best means of descent might be with saddlebags.
Saddlebags are essentially a means by which you can stack your rope in a sling and clip it to yourself so that it will easily feed out as you rappel down.

A climber sets up his saddlebag on the side of his harness.

In order to create a saddlebag for your rope:
  1. Center your rope on the rappel anchor.
  2. Coil the rope from the ends to the middle.
  3. Clip a single shoulder-length sling to your harness.
  4. Center the rope on the sling.
  5. Clip the other end of the sling to the carabiner already clipped to your harness.
  6. Put an extension on your rappel device.
  7. Add a back-up friction hitch to the double-ropes going through your device. This can be clipped directly to your belay loop if you are using an extension or to your leg-loop if you are rappelling directly off your harness.
  8. Rappel.
  9. If the rope gets tangled, unclip the carabiner that isn't clipped to your harness and allow the rope to fall down the cliff-face.
A climber rappels on an extension with a single saddlebag.

One of the best uses of this technique is to navigate low-angled terrain
where it might be difficult to throw the rope to the ground.

The term "saddlebags" is plural because you might have to manage a great deal of rope in a rappel. If you have to tie two ropes together to do a full-length rappel, then you should place one coil on one side of your body and the other coil on the other side of your body. In such a situation, you will have to rappel on an extension in order to effectively deal with the amount of rope on your body.

I regularly use this technique to deal with climbers below, low-angled terrain or wind. It is an easy and effective way to keep the rope from knocking someone down or becoming a mess...but like everything else, it takes practice to get it to work properly...

--Jason D. Martin

Friday, August 5, 2022

Coiling a Rope

Coiling a rope is both a skill and an art. First, it's a skill because no matter how you coil the rope, you should be proficient and it should be easy to uncoil the rope for use. Second, it's an art, because each of us have our own little tricks that we throw into coiling that make a given coil our own.

Mike Barter, the prolific climbing instructional video-maker, has a handful of different rope coiling techniques posted on his youtube channel. The one thing that he neglects to say though, is that before you start in any rope coiling endeavor, you should flake the rope. This first video of an individual doing a butterfly coil in his hand is a great example of someone who skipped the flaking part of the process.


Butterfly coils -- or lap coils, if that's what you prefer -- can be bulky and difficult to deal with when they are in your hand, particularly if you have small hands. In the next video, we will have the opportunity to see the same type of system done over the neck.

Mike calls coiling over the neck the Brit Style, or something like that. I might refer to this instead as simply a butterfly coil over the neck... And I have to say that this is also the way that most American guides coil their ropes. It's very fast and it's very easy once you've put in a bit of practice. The biggest downside is when you have a heavy and wet rope from glacier travel. When that happens it's never fun to coil over your neck...


In each of the preceding videos, it would be easy to convert the ropes, the way that the climbers coiled them, into backpacks. You must simply wrap the two ends of the rope over your shoulders, wrap them around your waist -- capturing the rope behind you -- and then tie them together in front of you. Generally a square knot tends to be the easiest and quickest knot to tie in that position that won't come undone.

Some climbers elect to butterfly a rope as a single strand. This style, sometimes referred to as a French coil, is nice for quick use of the rope. Many will do this when they are sport climbing because if you're good, the rope doesn't necessarily need to be flaked.

In the third video, Mike demonstrates the mountaineers coil. This particular style can be very nice for traveling with a rope. But where it is not nice is in uncoiling it. If you coil or store your rope in this particular fashion, it's very important to remember to uncoil the rope one strand at a time, otherwise things will get very messy.


Unless you always put your rope into a rope bag, coiling is a very important part of climbing. As I say on this blog a lot, practice makes perfect!

--Jason D. Martin

Monday, August 1, 2022

Marking Your Gear

The Facebook post was incredibly embarrassing. "It looked like a crime scene," my wife wrote. "An entire bottle of blood red nail polish spilled from the kitchen counter top, all down the cabinet door, and ending in a 3-foot spray across the tile floor. Who could have created such a mess? My 4-year old? My 5-year old?"

I could imagine her smile as she typed the next line for all of her friends to see. "No...it was my husband! And it was HIS nail polish."

Yes, I admit it.

It was MY nail polish. And yes, I did spill it everywhere. But in my defense, I was using it to mark my climbing gear...which is exactly what I wrote in response to her post. But that didn't stop the good-natured ribbing.

When the accident took place, I was trying to update all of my gear with the latest in gear marking technology, nail polish. Most of my climbing friends and nearly all of the guides at the American Alpine Institute long ago moved away from multi-colored tape on hardware and toward the use of nail polish.


Both of the carabiners in this photo have been marked for about the same amount of time.
The carabiner on the left has nail polish painted in strategic location. Whereas the carabiner
on the right has electrical tape on the spine. Clearly the tape did not hold up as well as the polish.

In the past, each of my carabiners had two strips of electrical tape around the spine. One strip was black and one was red. The dual colors helped to keep them from getting mixed up with other people's gear. The problem with the tape though is that it wears off. It starts to fall off in a sticky mess, creating micro-trash in the mountains.

To keep the nail polish from rubbing off, I try to paint it on near the hinge at the base of the gate and next to the nose. Because these areas are mildly inset, ropes and rocks don't tend to rub as much and the paint markings stays on for a long time.

It is also possible to mark cams and stoppers with nail polish dots in strategic locations. Look for a spot where your dots will not be easily scraped off, but where you can see them without too much trouble.

I put two dots on each of my cams. My colors are red and black. It's always
good to mark your gear with more than one color.

It is important to note that I still have multi-colored electrical tape on my slings, over the stitching. You definitely would NOT want to put nail polish onto a soft good like a sling. While I don't know exactly what's inside nail polish, I can only assume that the chemicals would have a negative and perhaps even dangerous impact on the material.

Those who swap partners a lot should really play it safe. Protect yourself. Mark it carefully and you'll lose less of it. Mark it poorly and your gear will slowly migrate away to your partners racks...

Jason D. Martin