This particular article is about the last two issues. Are there people climbing up from below and will the rope get hung up when it's thrown? If there are people below or the rope looks like its going to get hung up, then the best means of descent might be with saddlebags.
Saddlebags are essentially a means by which you can stack your rope in a sling and clip it to yourself so that it will easily feed out as you rappel down.
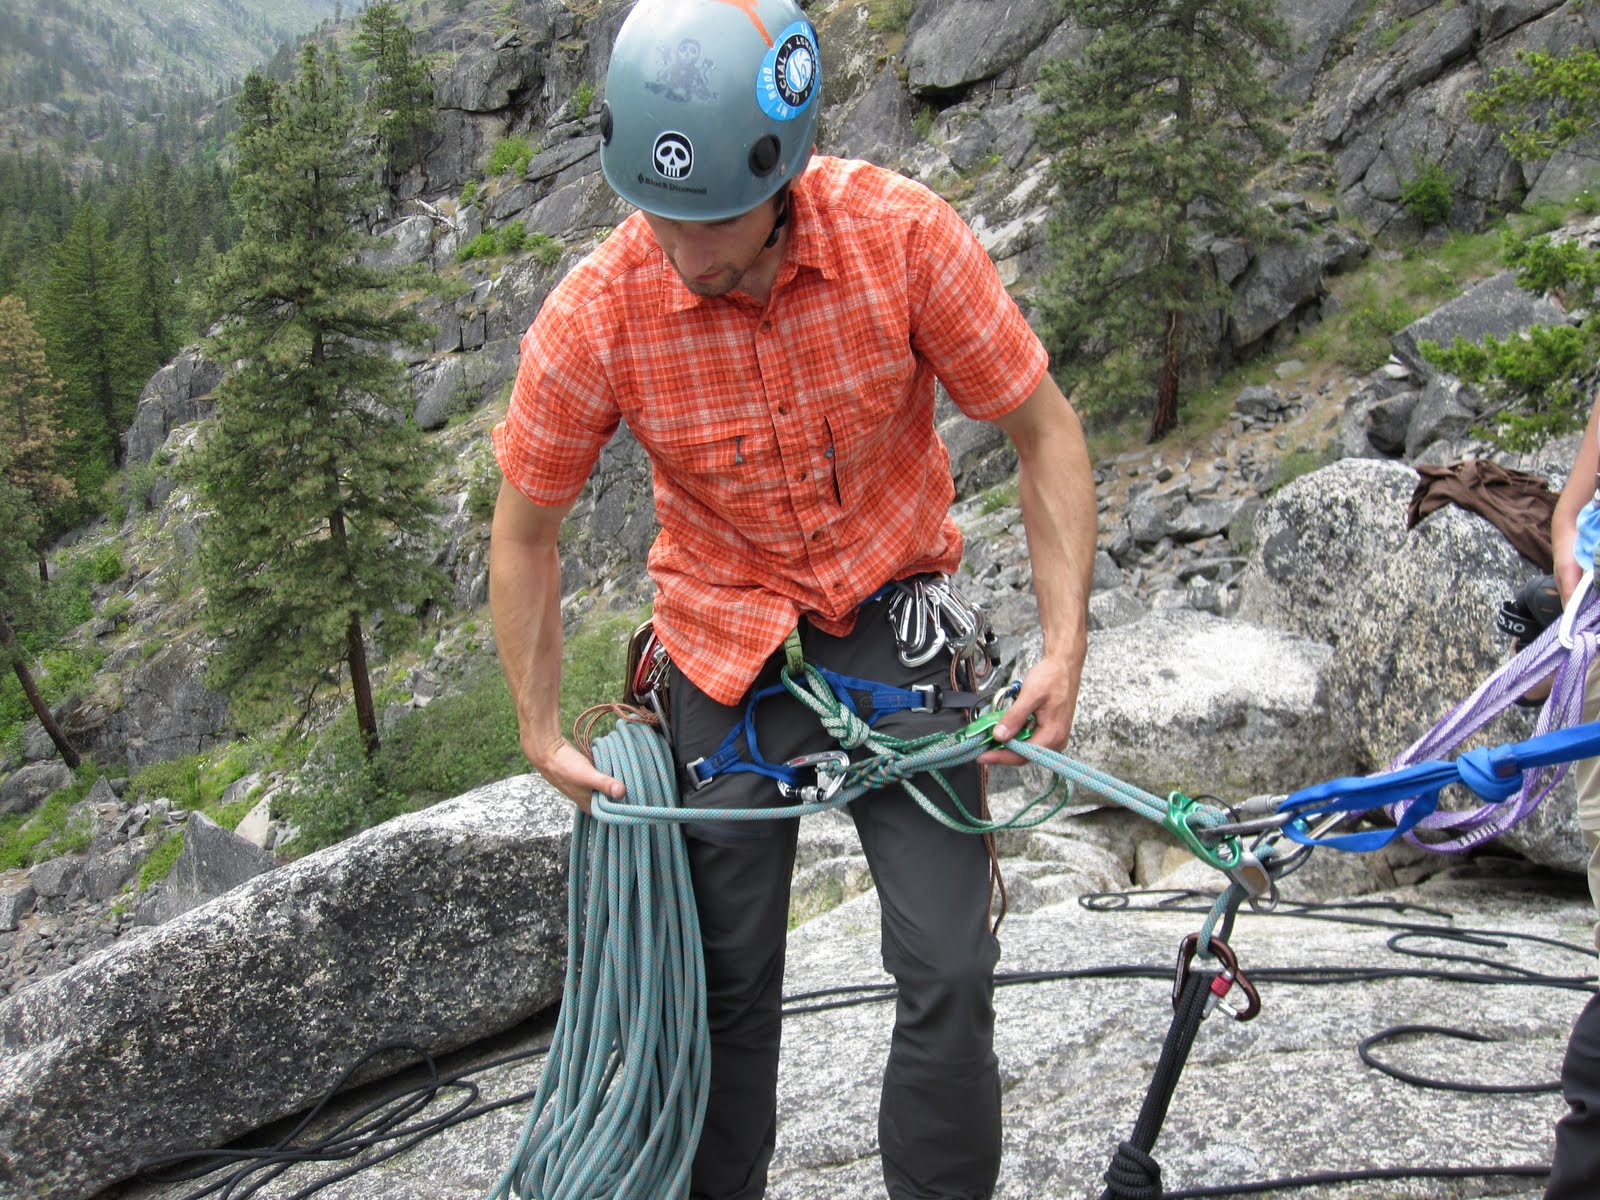 A climber sets up his saddlebag on the side of his harness.
In order to create a saddlebag for your rope:
- Center your rope on the rappel anchor.
- Coil the rope from the ends to the middle.
- Clip a single shoulder-length sling to your harness.
- Center the rope on the sling.
- Clip the other end of the sling to the carabiner already clipped to your harness.
- Put an extension on your rappel device.
- Add a back-up friction hitch to the double-ropes going through your device. This can be clipped directly to your belay loop if you are using an extension or to your leg-loop if you are rappelling directly off your harness.
- Rappel.
- If the rope gets tangled, unclip the carabiner that isn't clipped to your harness and allow the rope to fall down the cliff-face.
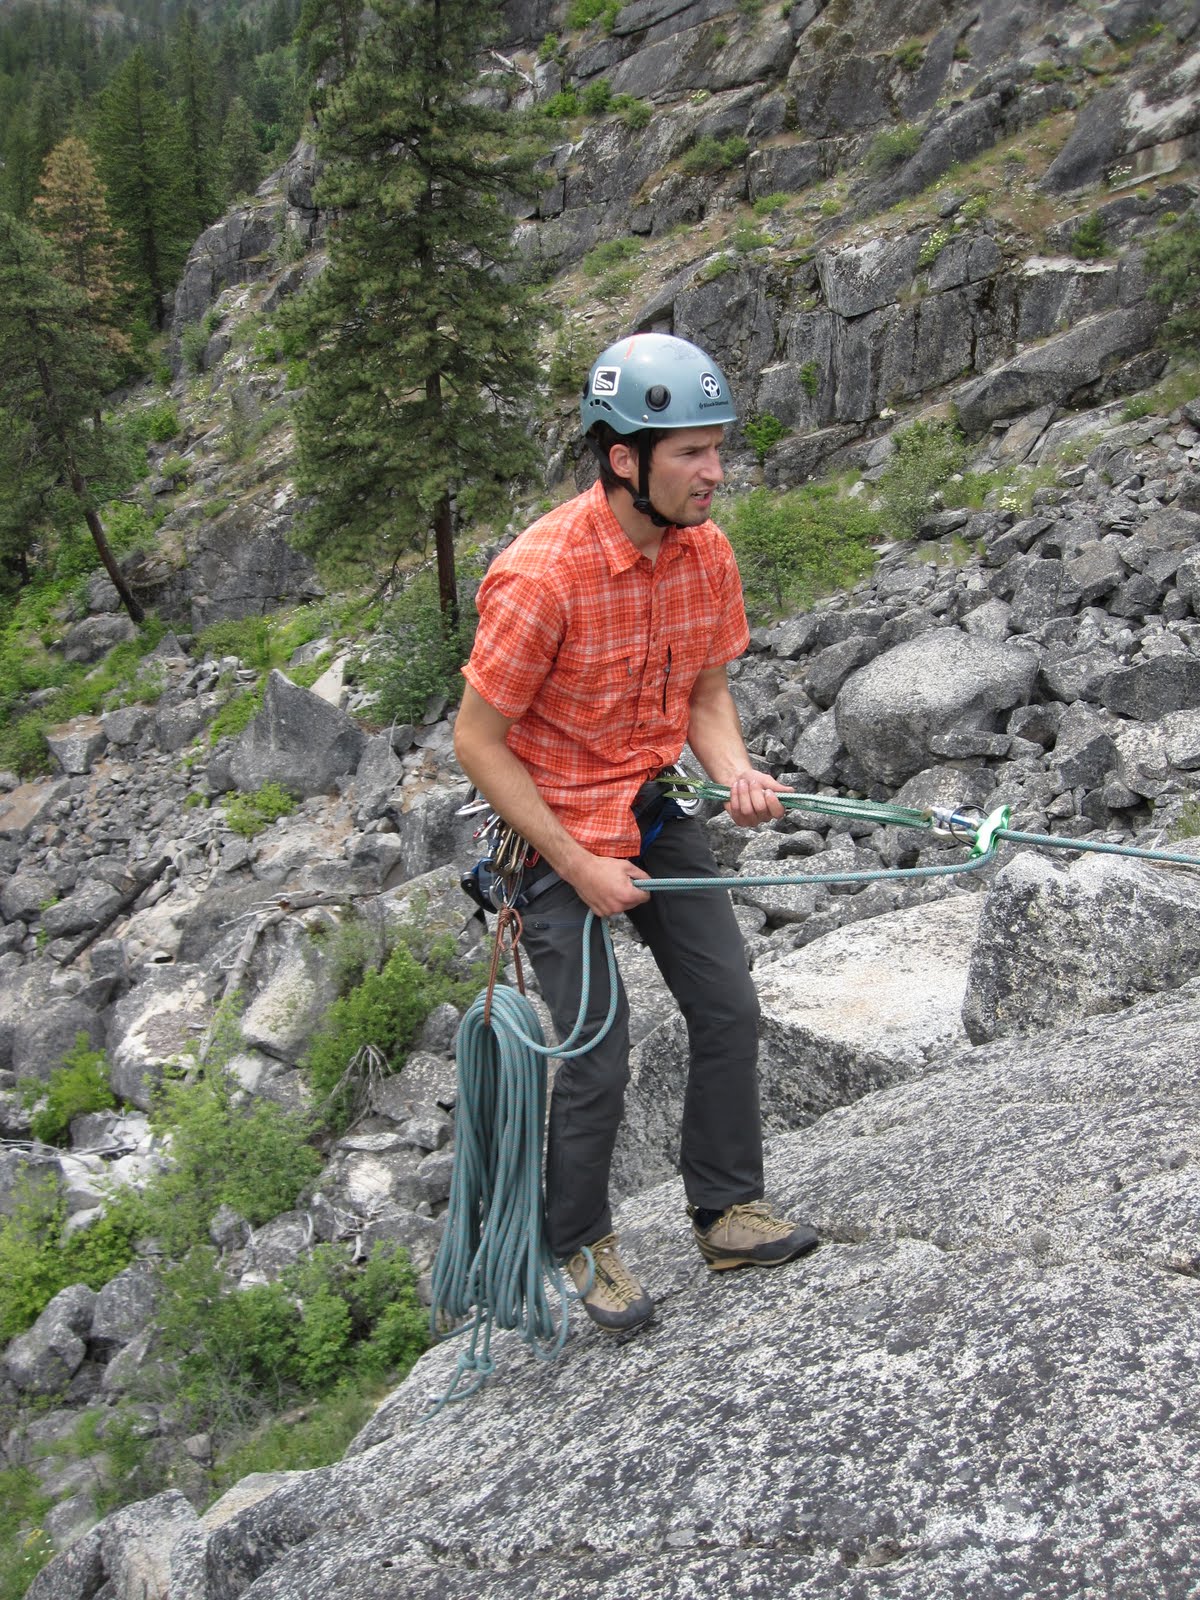 A climber rappels on an extension with a single saddlebag.
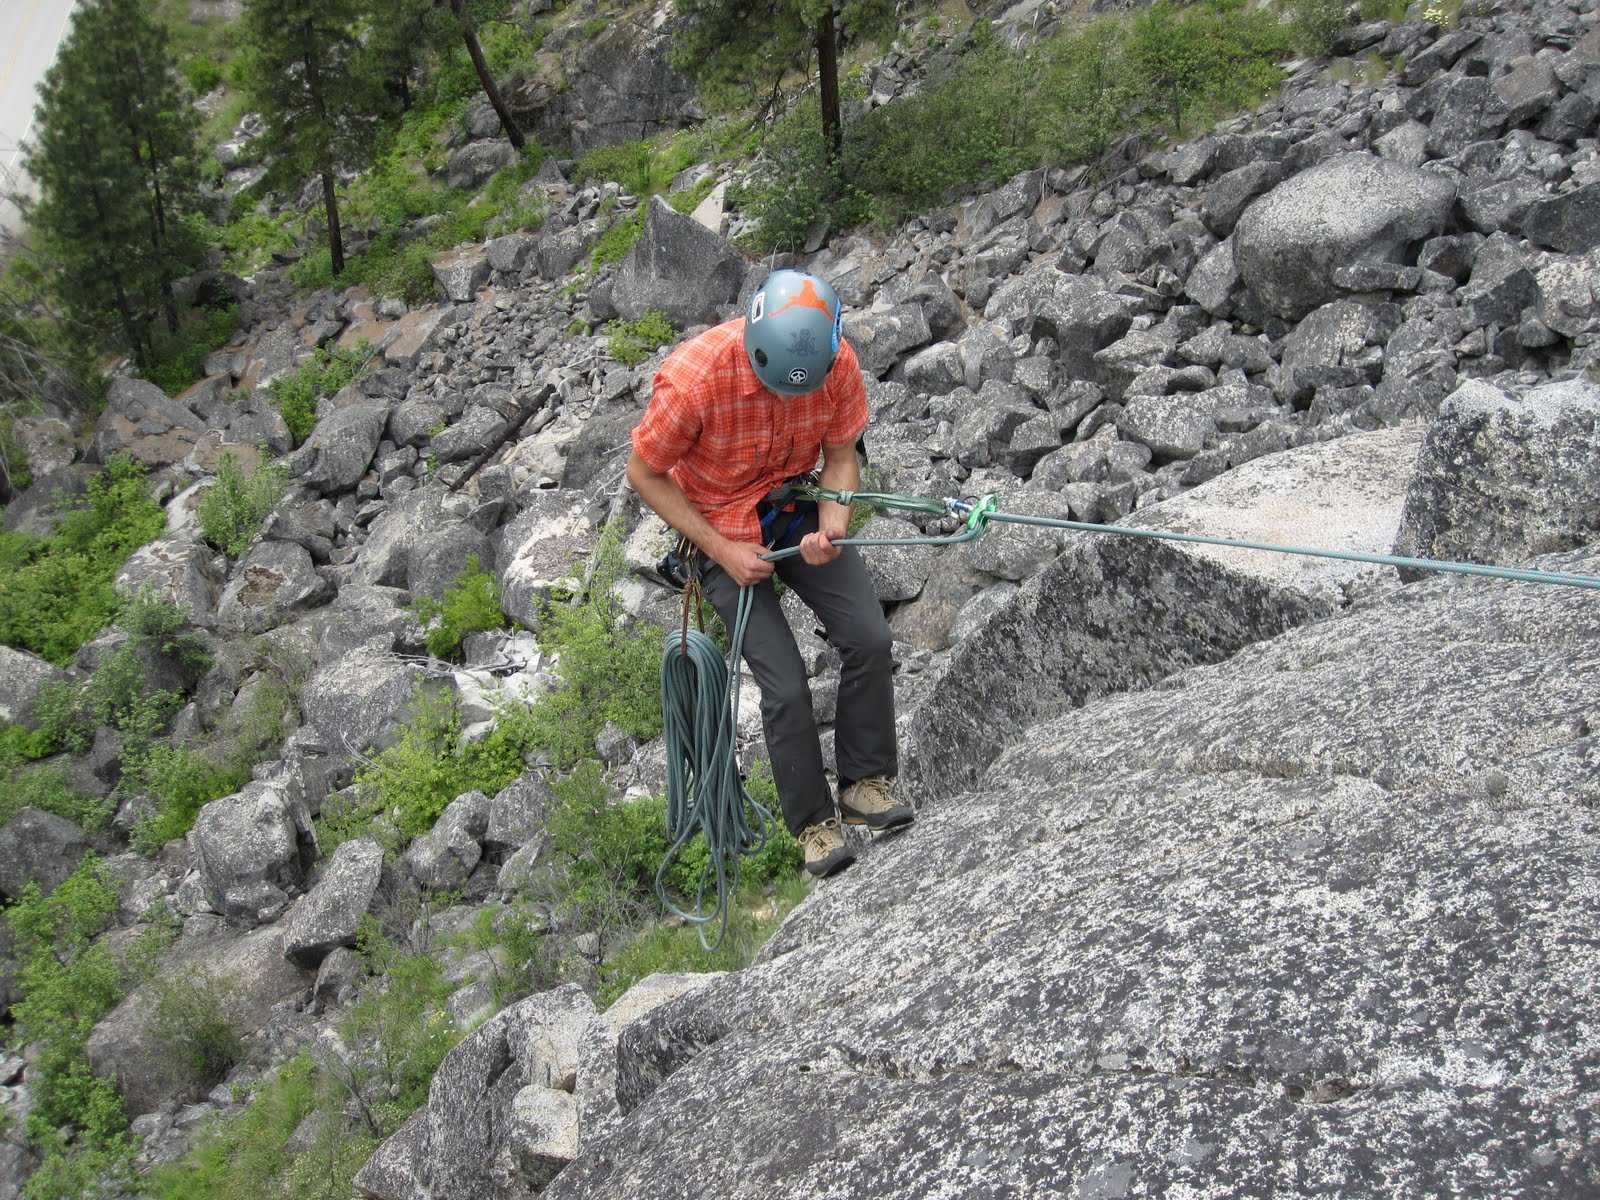 One of the best uses of this technique is to navigate low-angled terrain
where it might be difficult to throw the rope to the ground.
The term "saddlebags" is plural because you might have to manage a great deal of rope in a rappel. If you have to tie two ropes together to do a full-length rappel, then you should place one coil on one side of your body and the other coil on the other side of your body. In such a situation, you will have to rappel on an extension in order to effectively deal with the amount of rope on your body.
I regularly use this technique to deal with climbers below, low-angled terrain or wind. It is an easy and effective way to keep the rope from knocking someone down or becoming a mess...but like everything else, it takes practice to get it to work properly...
--Jason D. Martin


3 comments:
I have to say that this is a must technique in highly populated climbing areas. I use it too and have to say it is nice and organized. Not to mention other climbers below appreciate your use also.
why 3 belay tubes ?
There are 3 belay tubes visible in one of the pictures b/c there are people setup to rappel. It saves a little bit of time if the entire party rigs up for rappel at once, this way once the first person is down the next person is already setup to rappel.
This is much easier to do when every one in the party is rappelling with their rappel devices extended, if you were to try this with the rappel devices connected directly to the belay loop you would notice that once the first person rappelling weighted the rope the others in the party would be pulled to the rope as it came taught. With rappel devices extended with double length slings then there's enough slack (unless you're standing very far from the rope)that your rappel device is pulled toward the rope as it comes taught but your body is not.
A second advantage to having the entire party setup for rappel at once is that the leader can inspect everyone's rap setup before rappelling. Once the leader is off rappel they don't have to worry if everyone is in the party is going to setup their rappel devices correctly.
Post a Comment